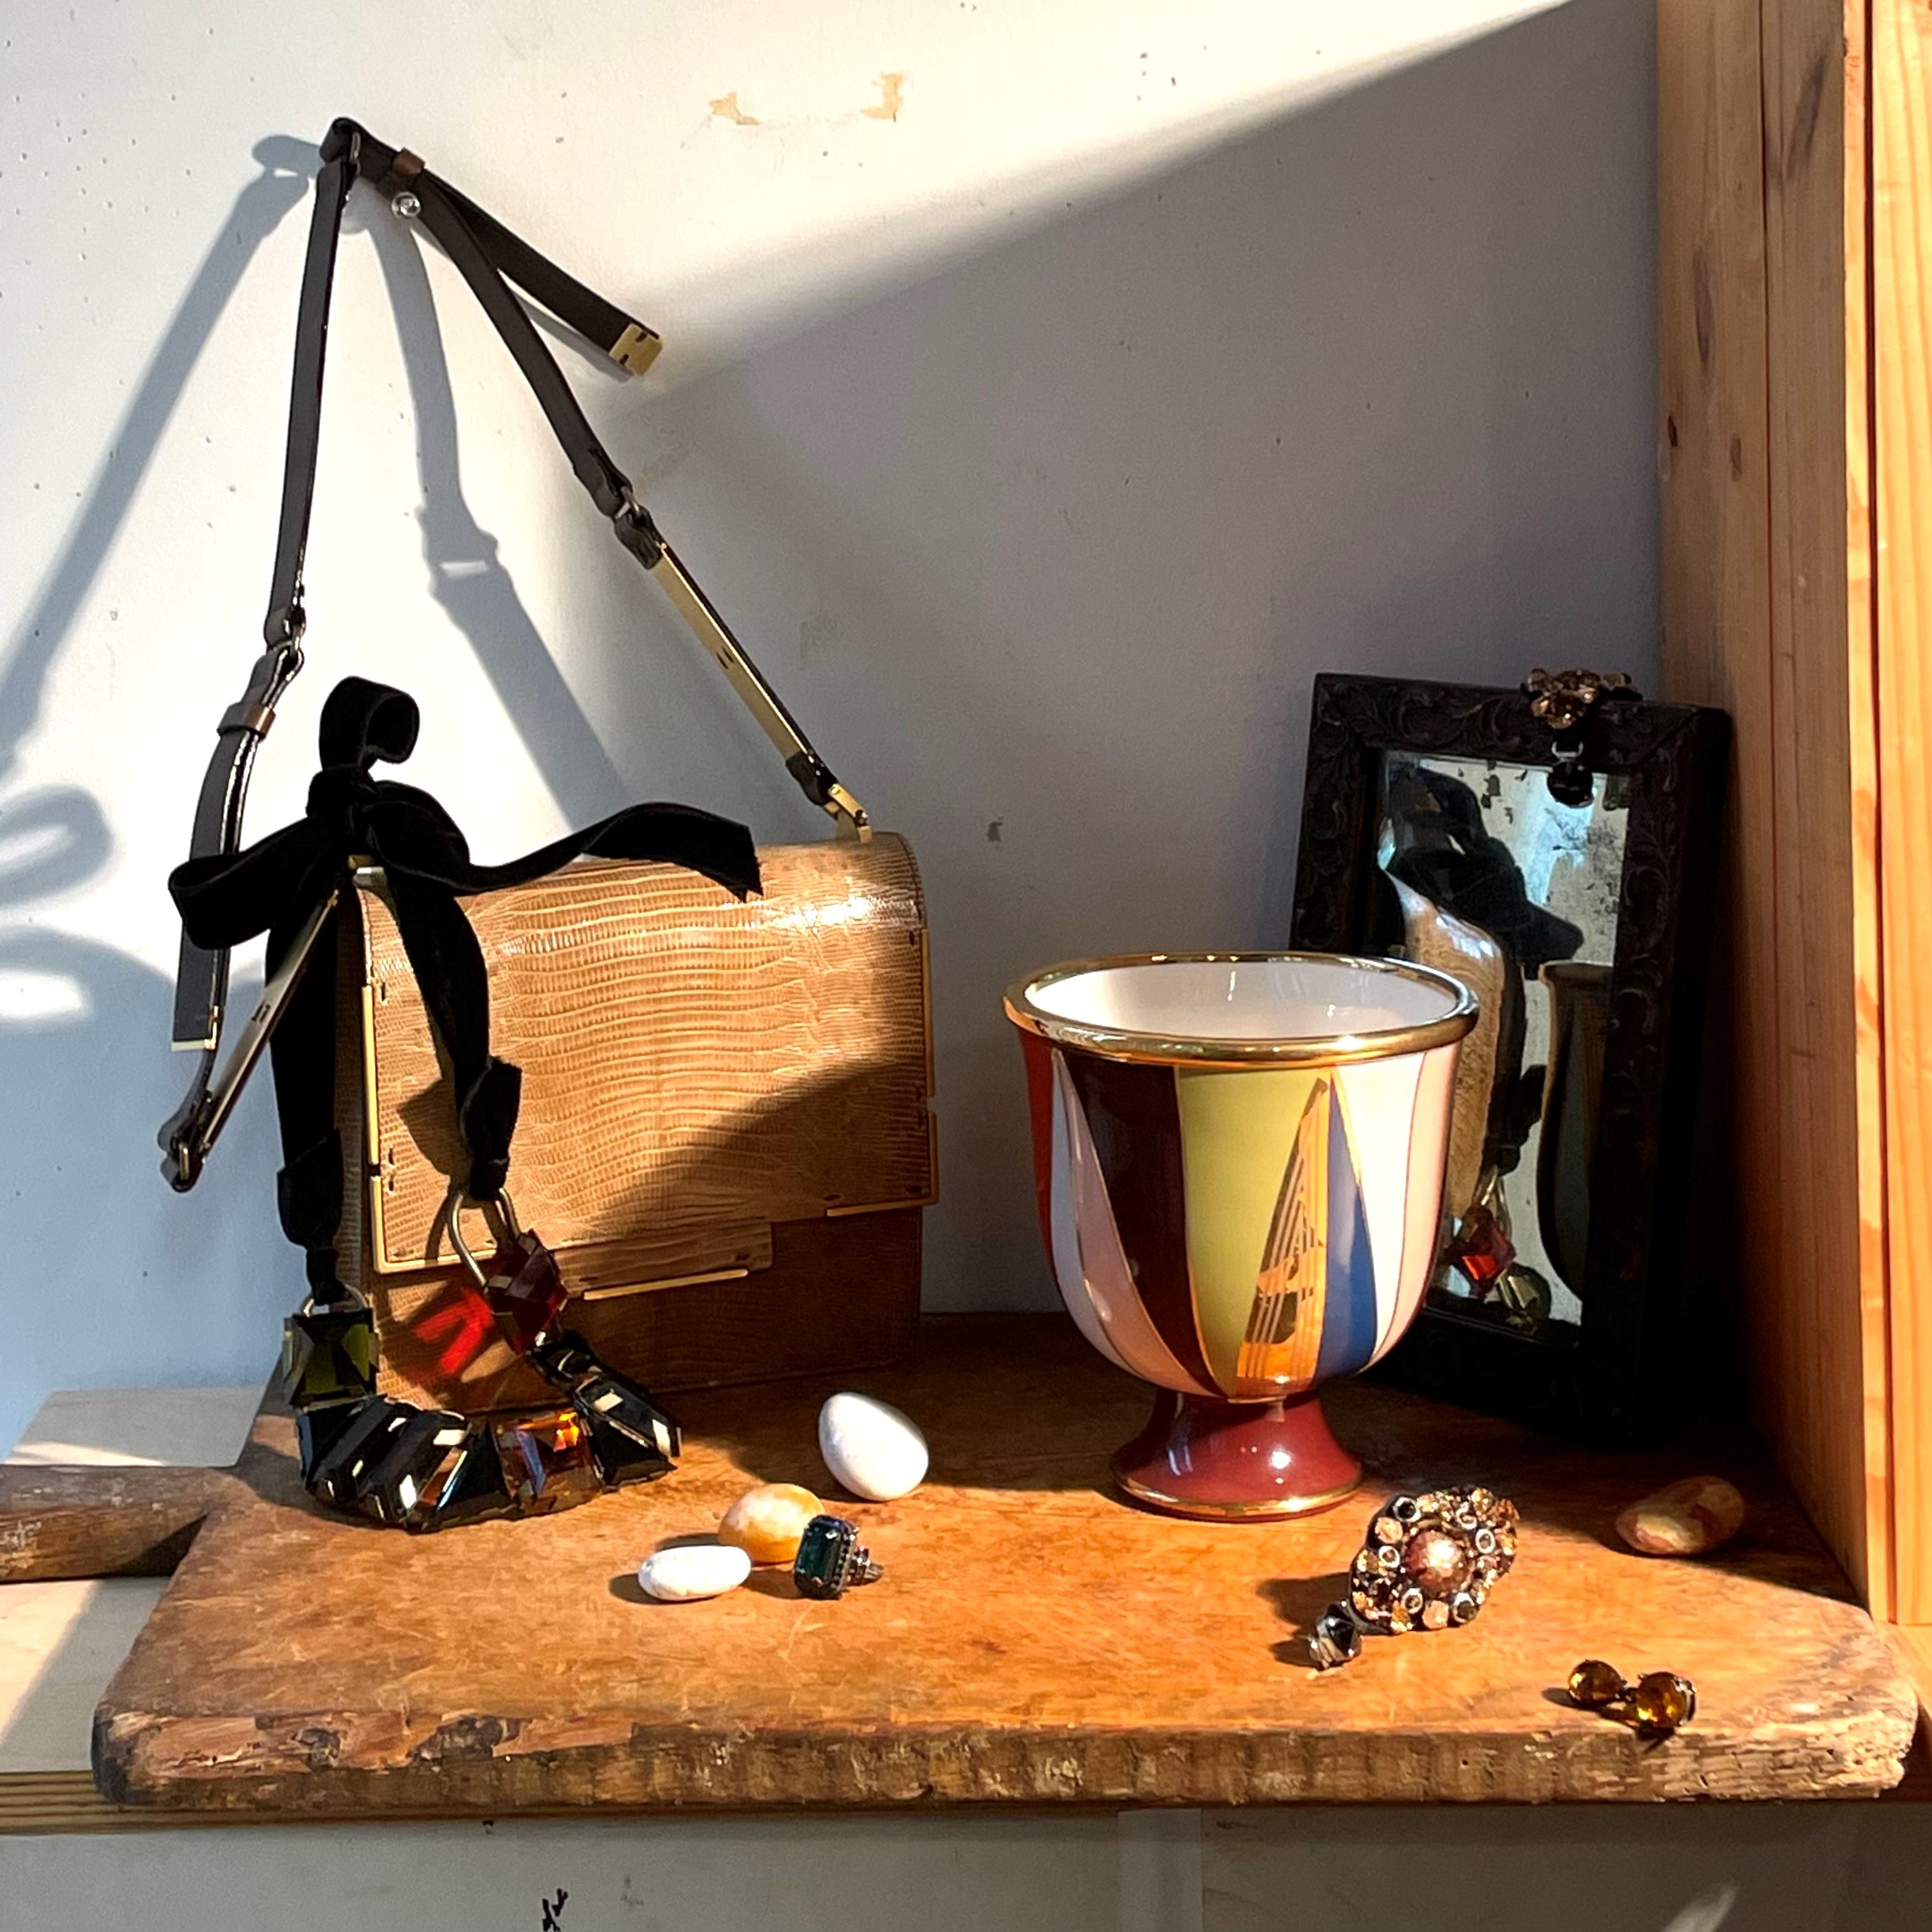
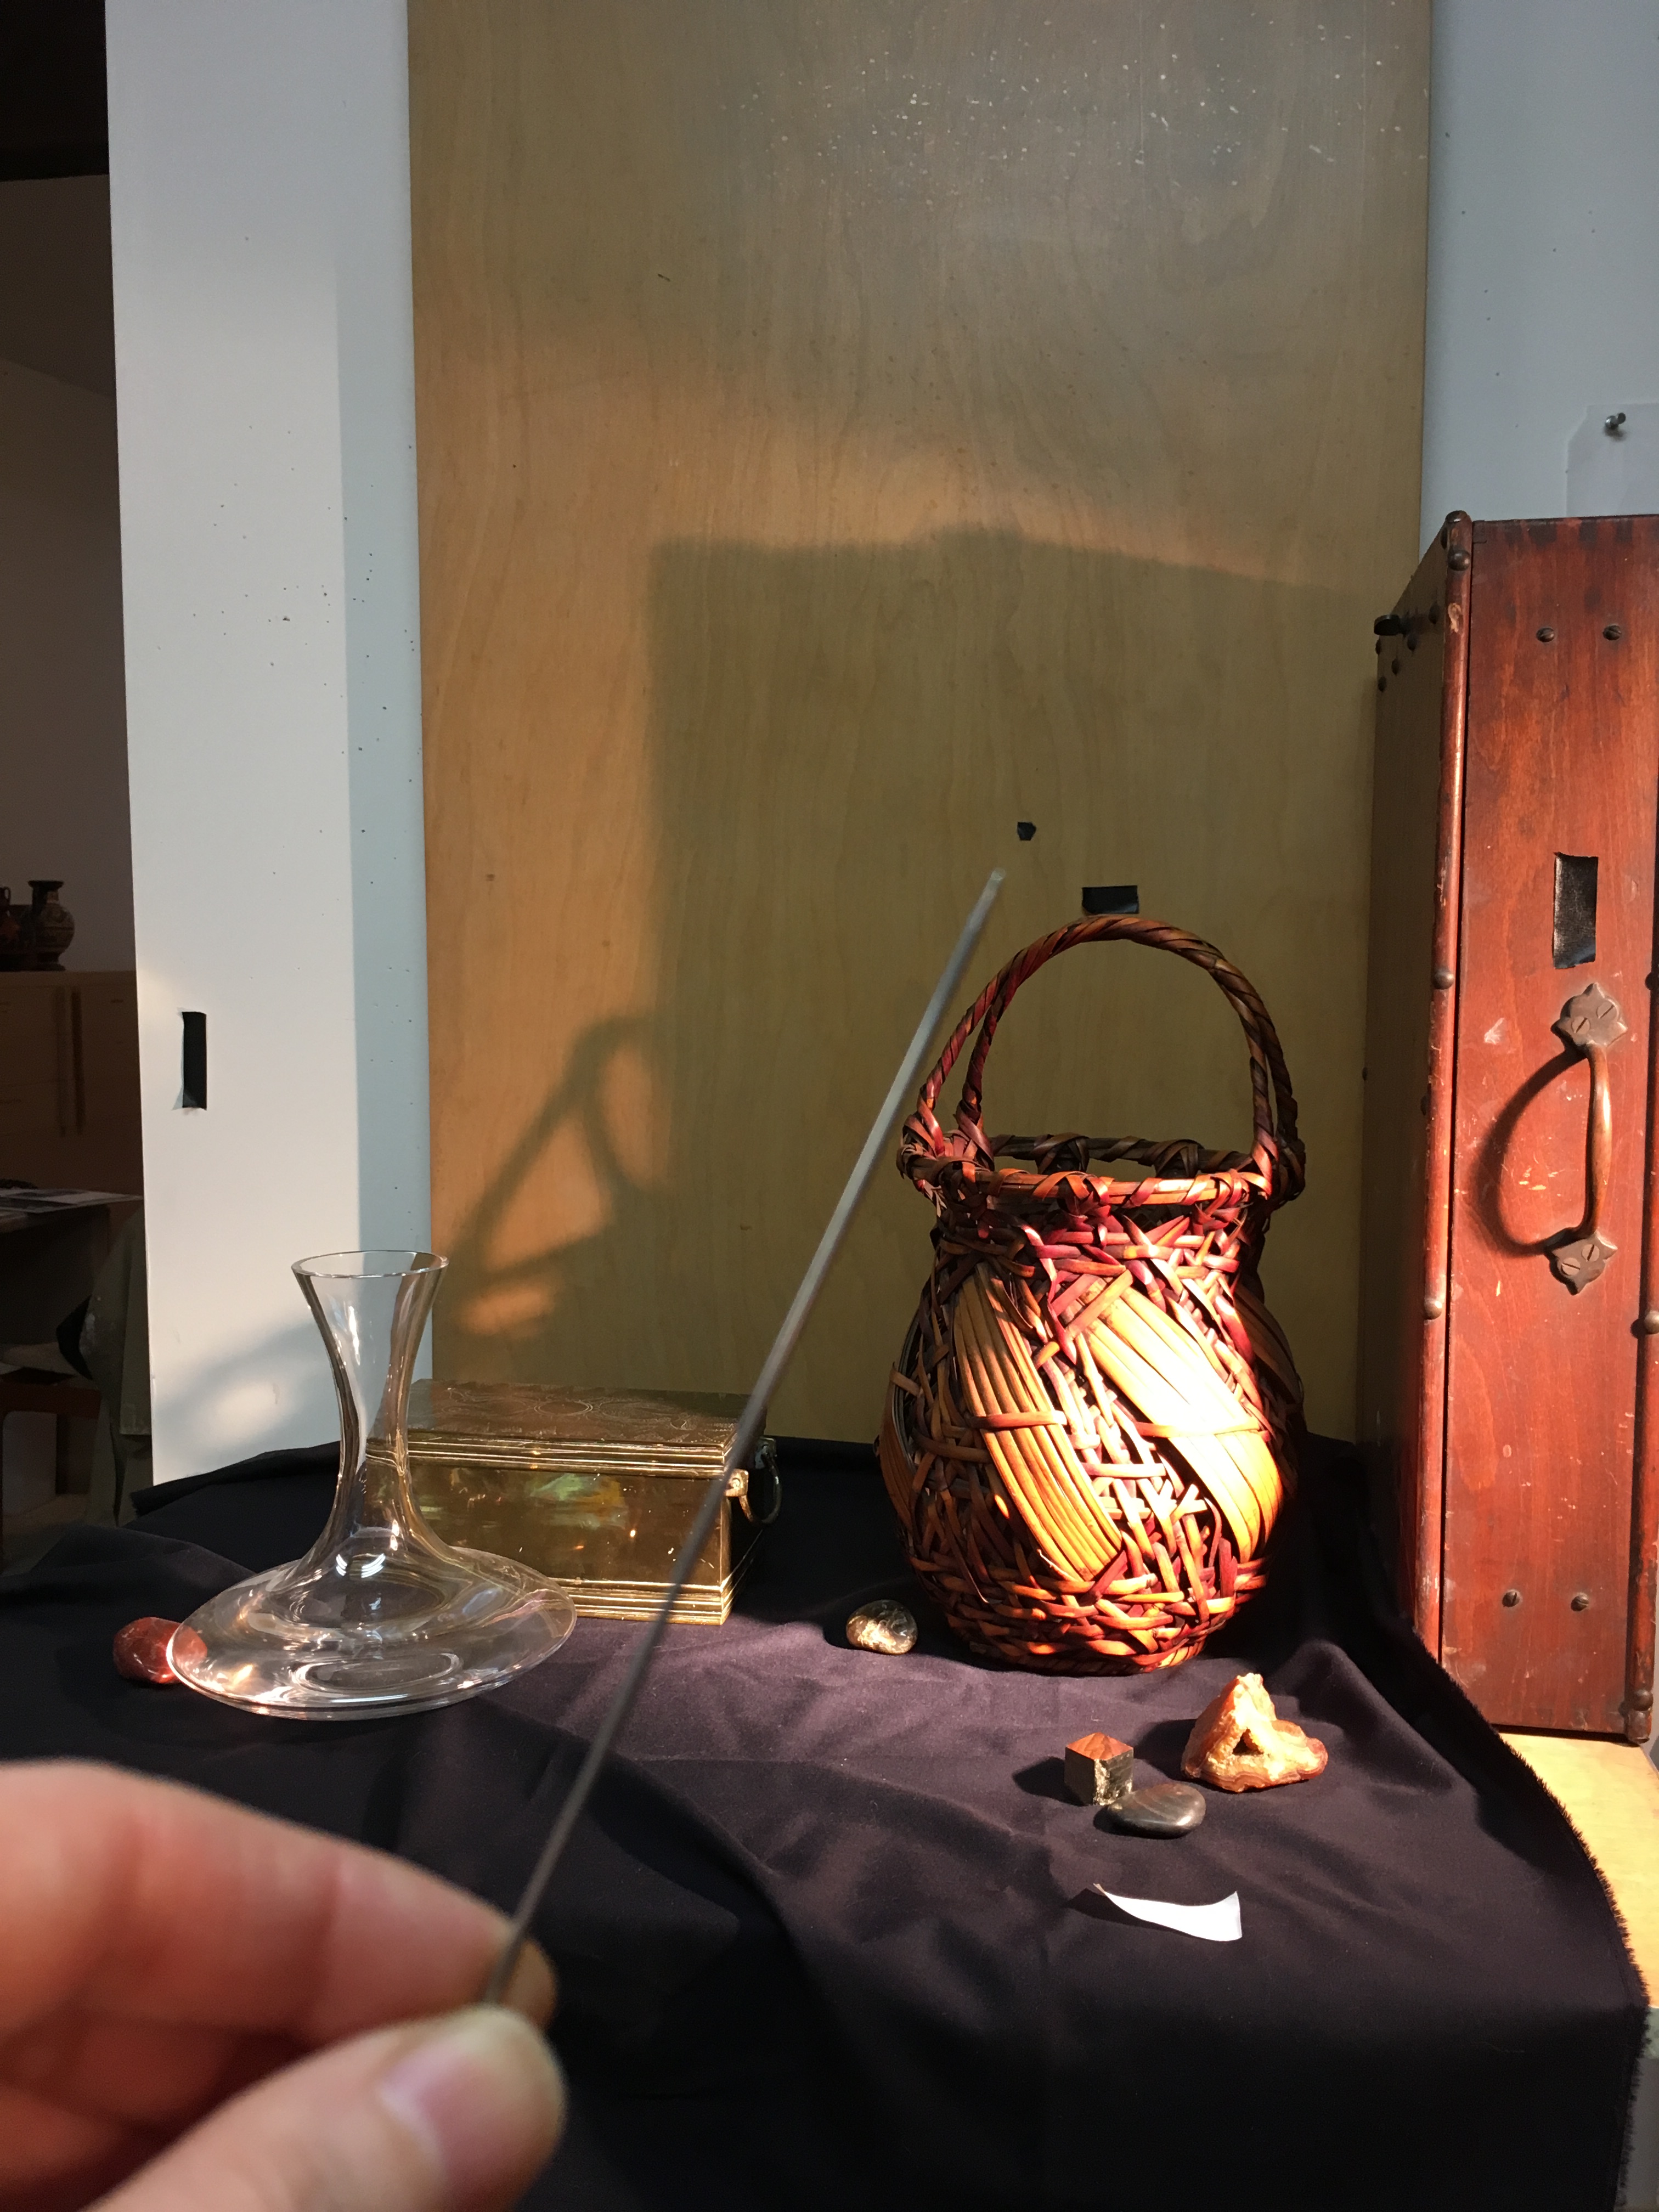
Here’s my new set-up! I’m happy with it, so it’s time to start the drawing. My first step is to decide how big the painting will be. Since I like to paint objects their full size, I usually measure the front of the set-up to get an idea of the width of the painting. This usually takes a bit of juggling until I arrive at the right size. Once that is decided, I draw a rectangle (or in this case, a 24″ square) of the correct proportions on my drawing paper, add 1/4″ on each side for the overlap of the frame on the finished painting, and then mark off a grid dividing it into halves, thirds, etc. These markings are also on my cardboard view-finder, which has corresponding tick marks. I mark the boundaries of the composition on the wall and set-up with tape, as a guide to frame the set-up with my view-finder.
Below you can see me holding up my view-finder with a skinny knitting needle held against it, using the tape marks as a guide. I then position the knitting needle at a convenient tick-mark and see what objects in the set-up line up with it. I then mark these positions on my drawing paper.

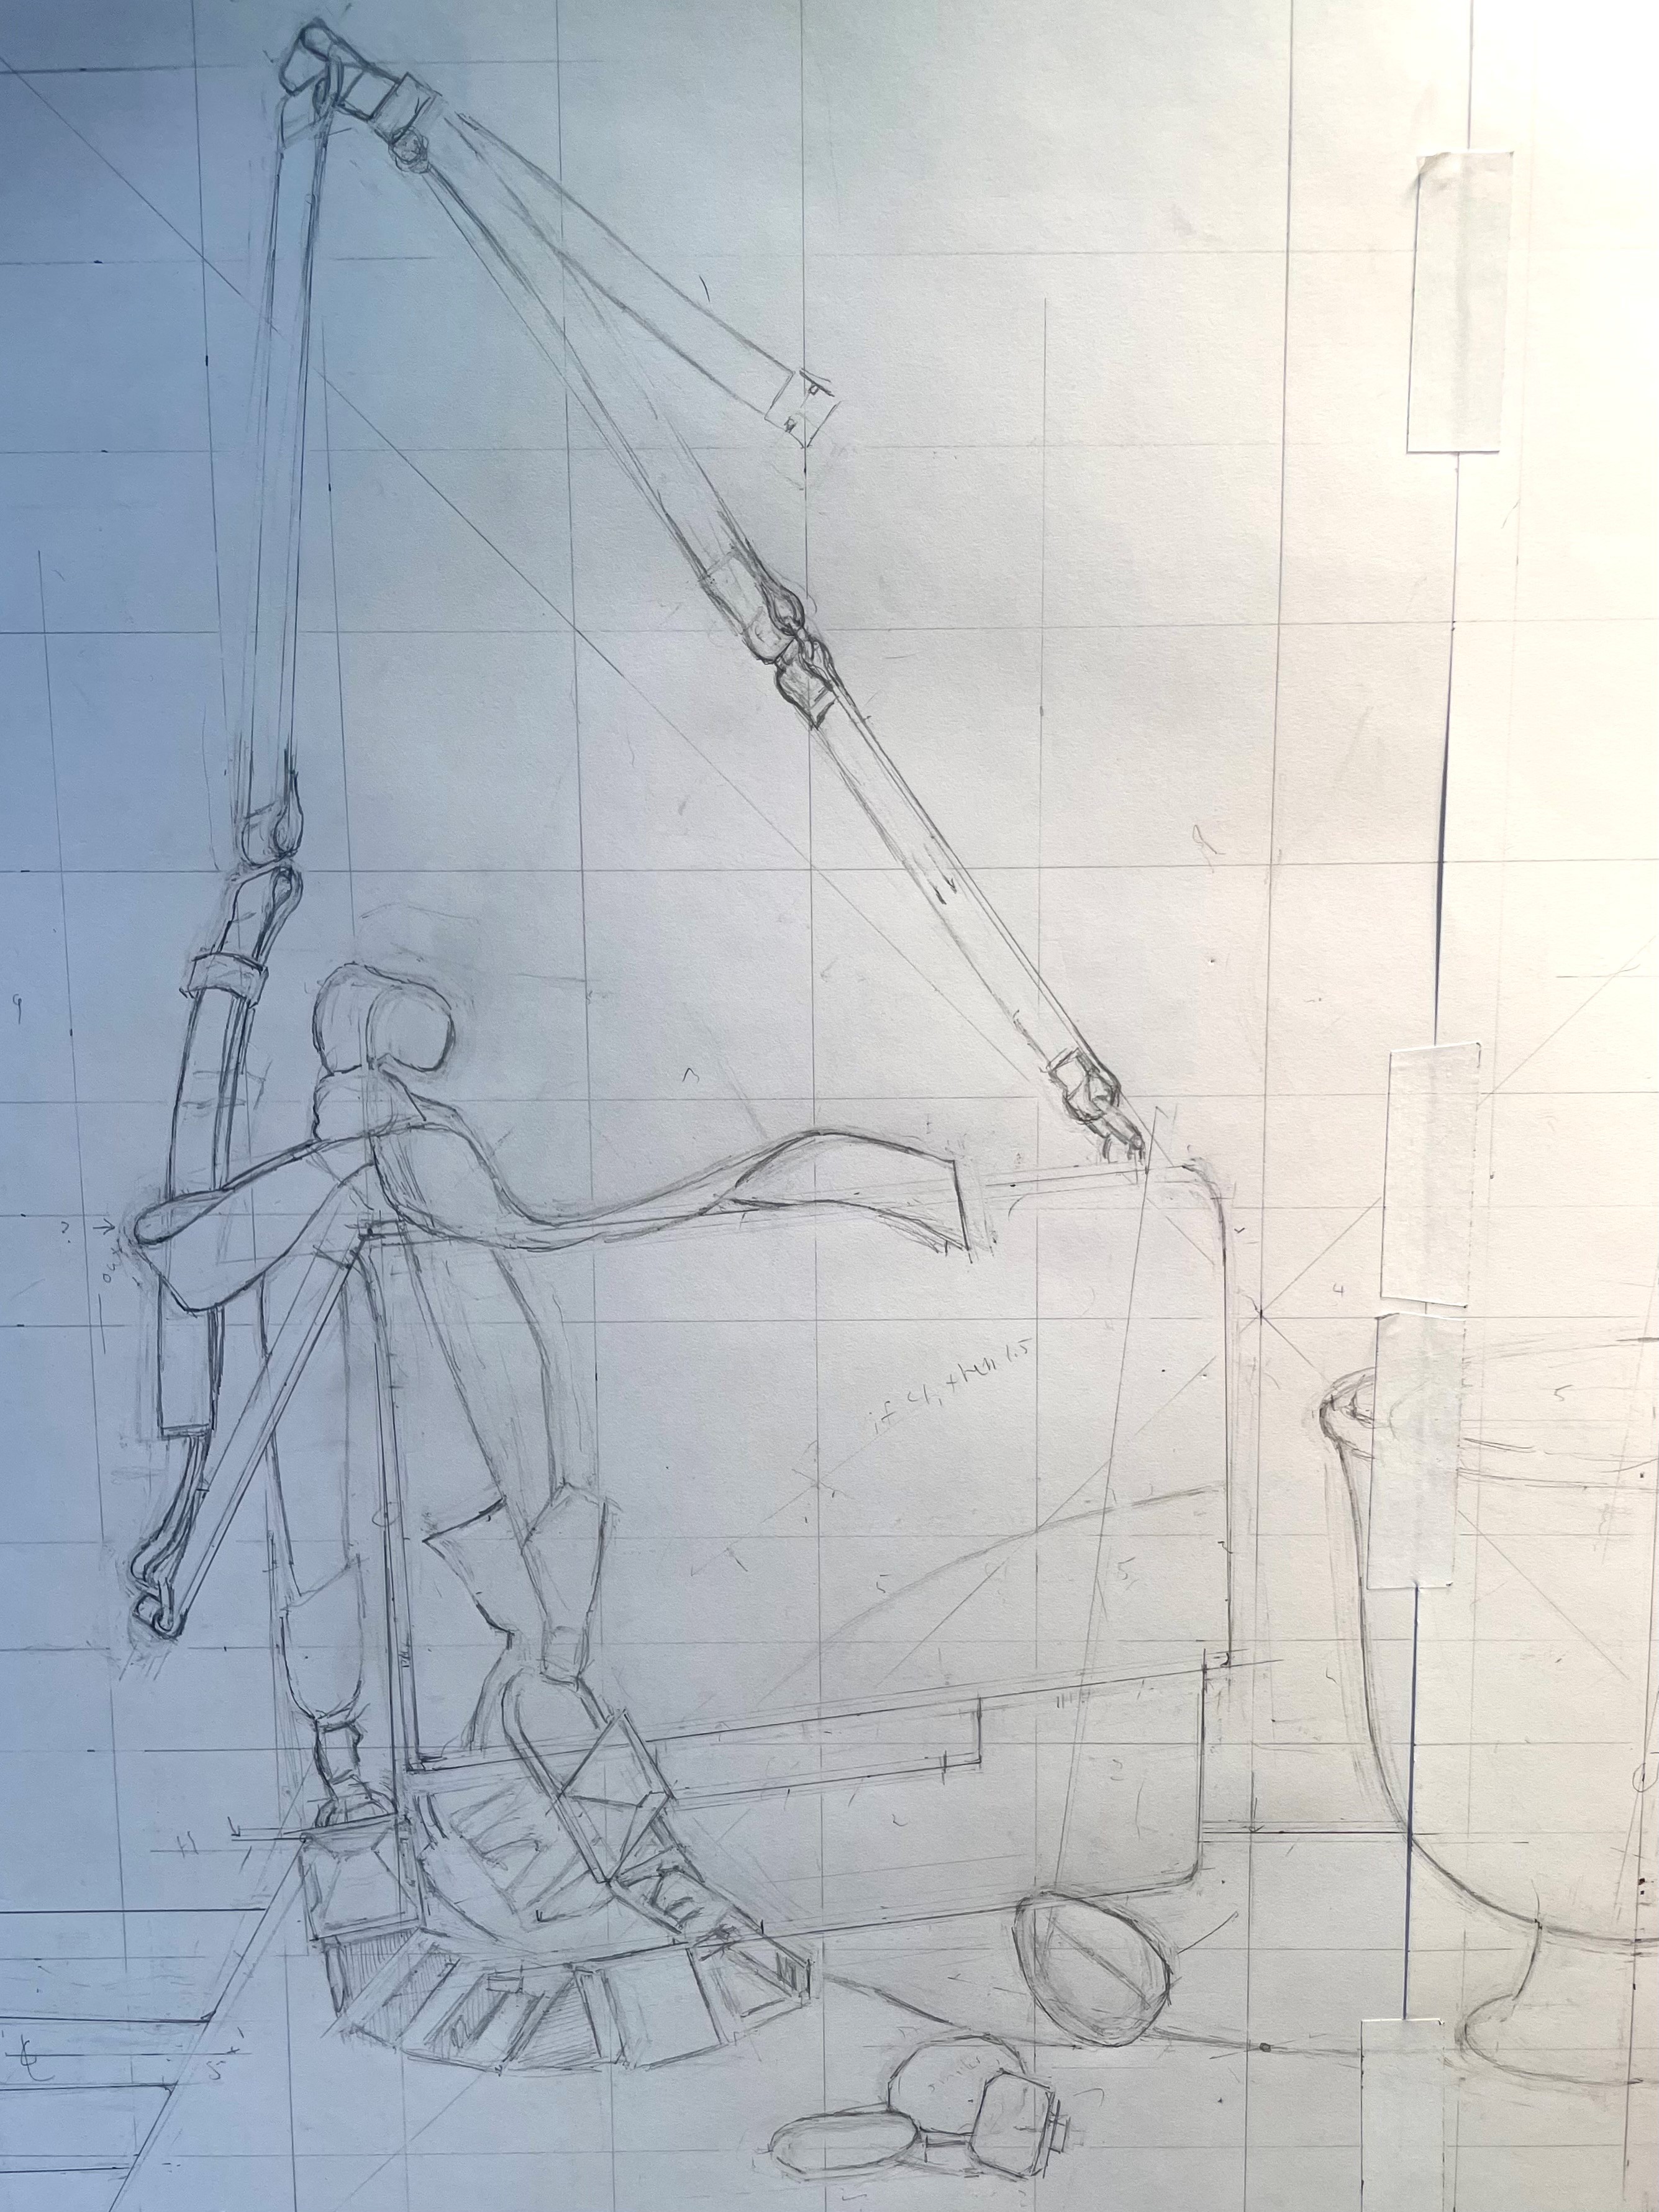
After I have located some major spots, I can begin drawing, constantly checking and measuring with the view-finder. I naturally draw sight-sized, so using the viewfinder and grid keeps me drawing at the correct size.
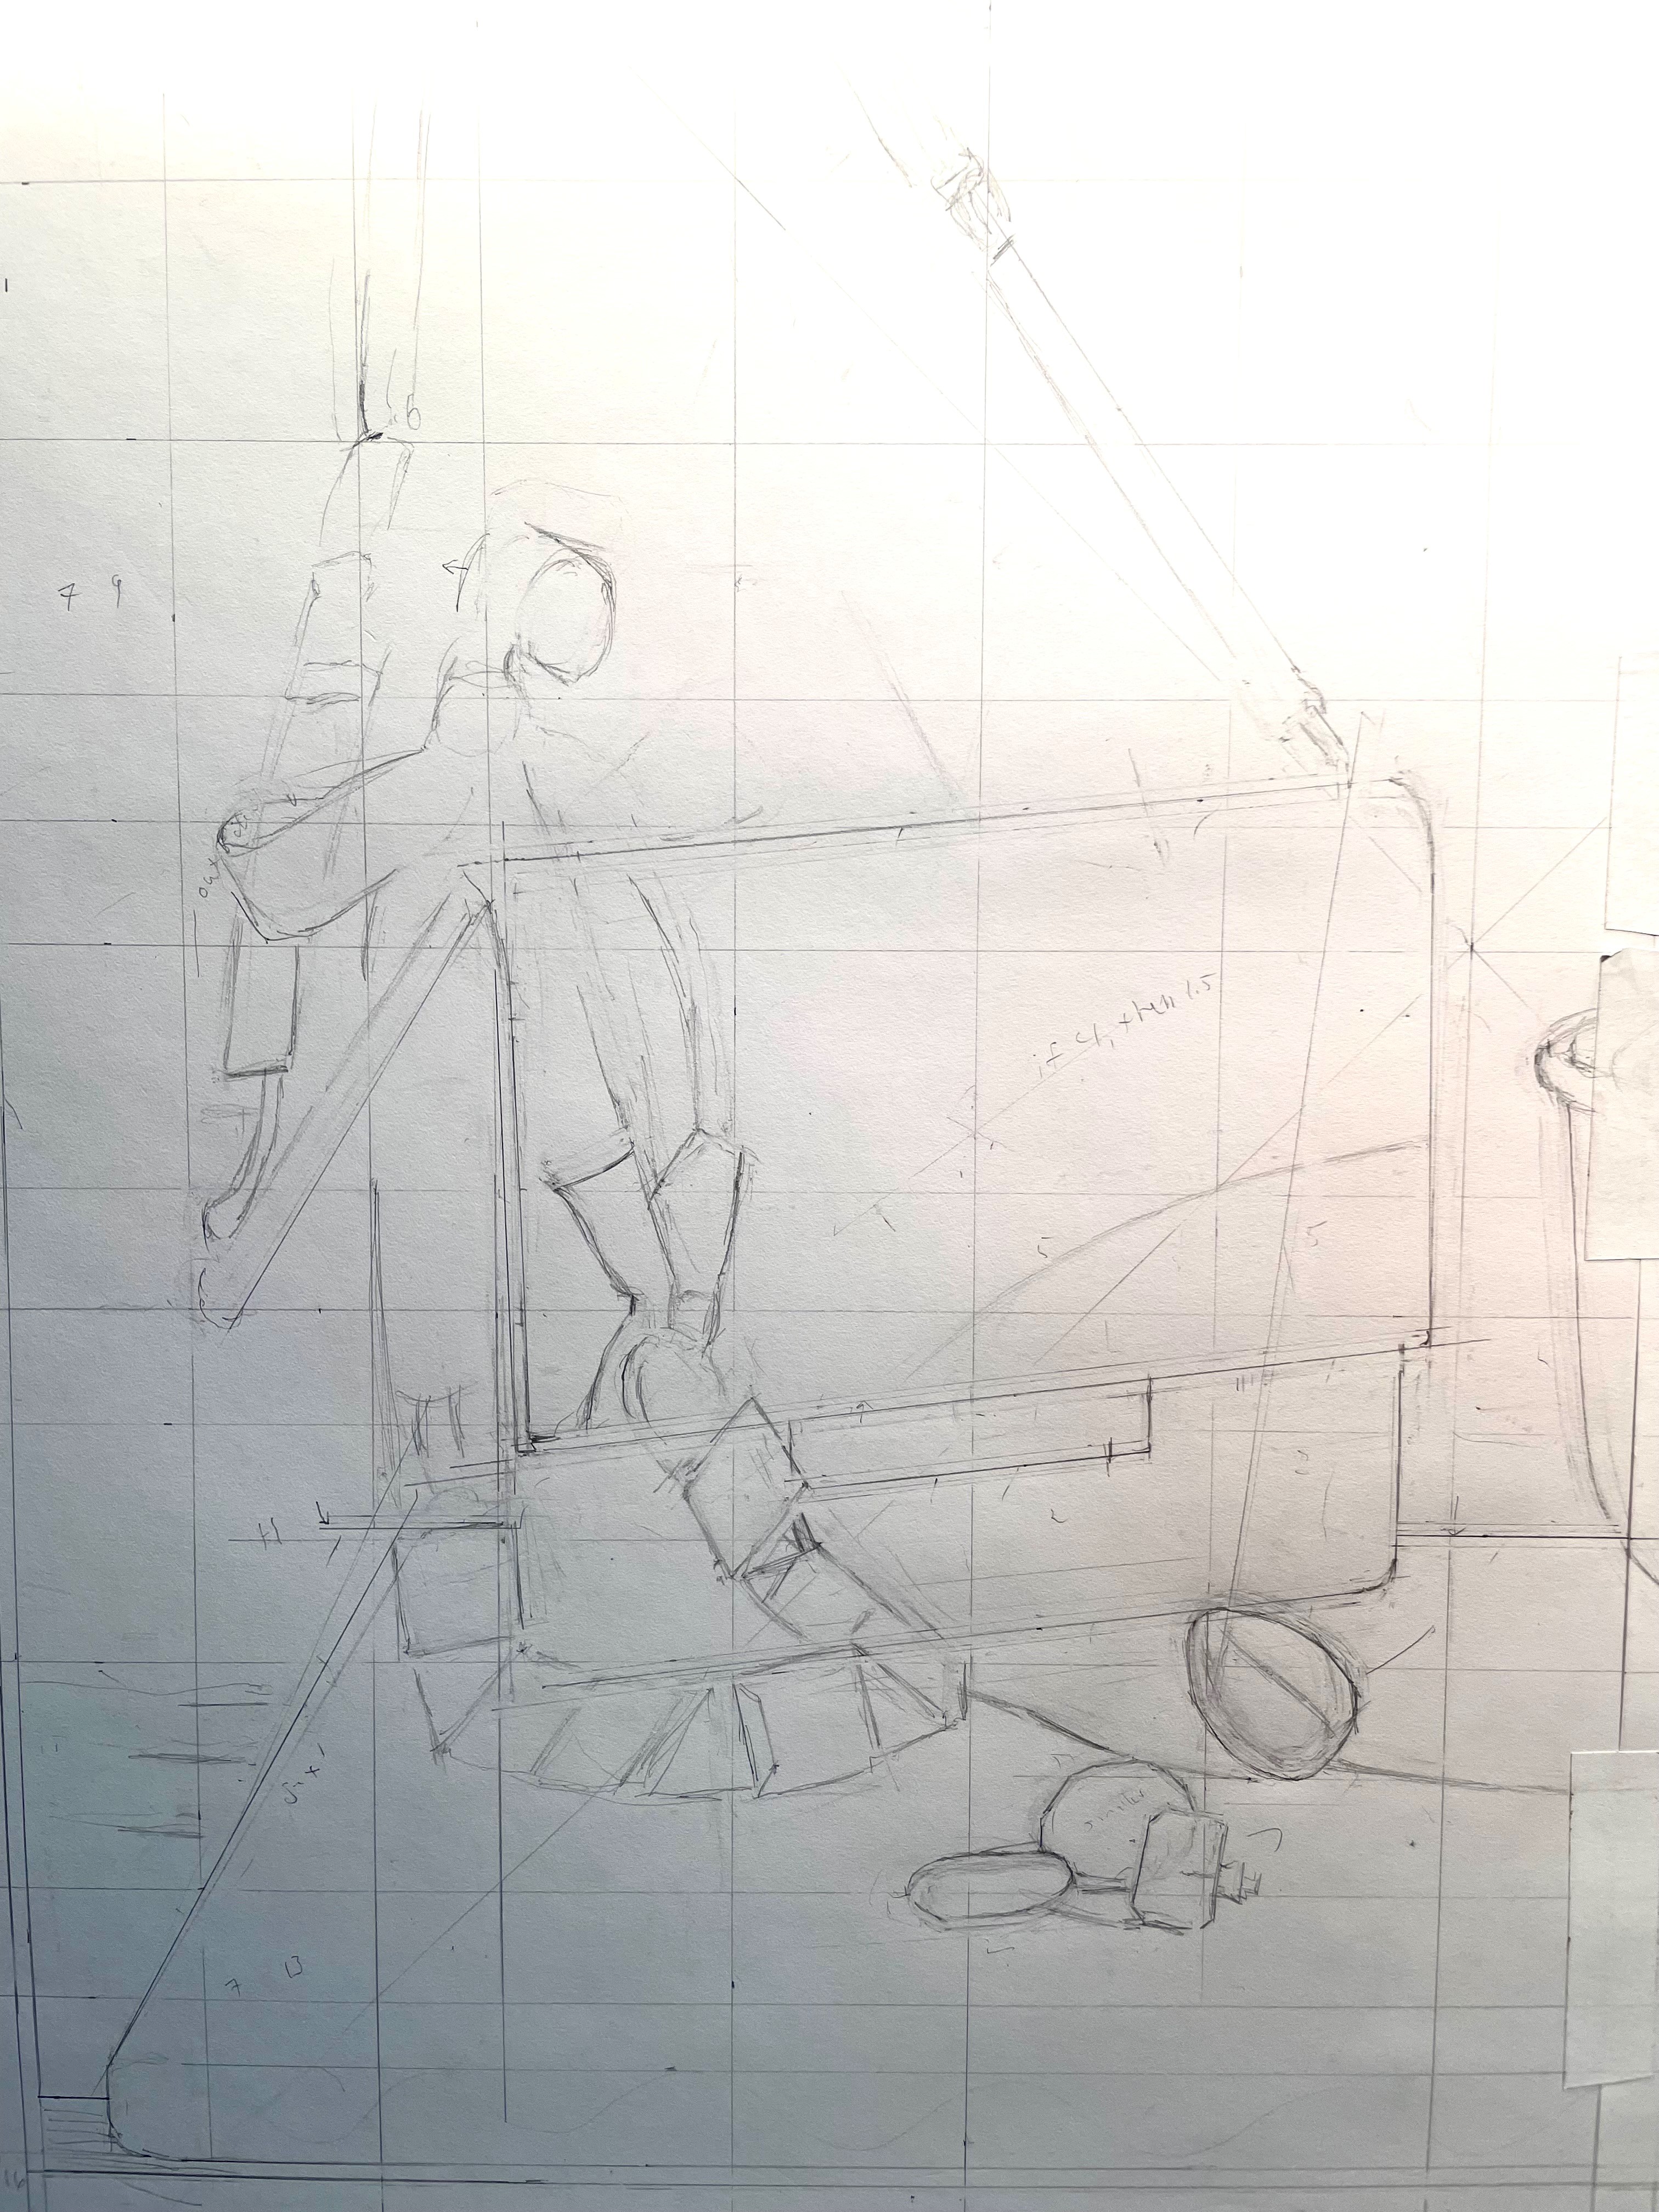
Above, I have drawn the basic shapes of the handbag, necklace, and stones. I erase and correct constantly, especially because my hand shakes a bit when I hold up the view-finder, and the knitting needle can look a bit blurry so close-up to my eyes. All of this leads to much human error. My solution is to measure repeatedly and use the measurement that I come up with most often. Most importantly, I keep comparing the drawn image with the set-up. What I have drawn by measuring and what exists in reality don’t always agree! Tempting though it is to always believe the measurement, the eye is always right. Sometimes I spend 30 minutes measuring and drawing something, only to look at it with my unaided eye and see that it’s totally wrong!

Here’s the right side of the drawing. The vase was very hard to get right. Complex curves are tricky, especially getting both sides of a symmetrical shape to match. A great trick that I use to get symmetry is to trace one side of an object after I get it pretty close, and then flip over the tracing paper, and use it as transfer paper to trace the other side like a mirror image. It always works.
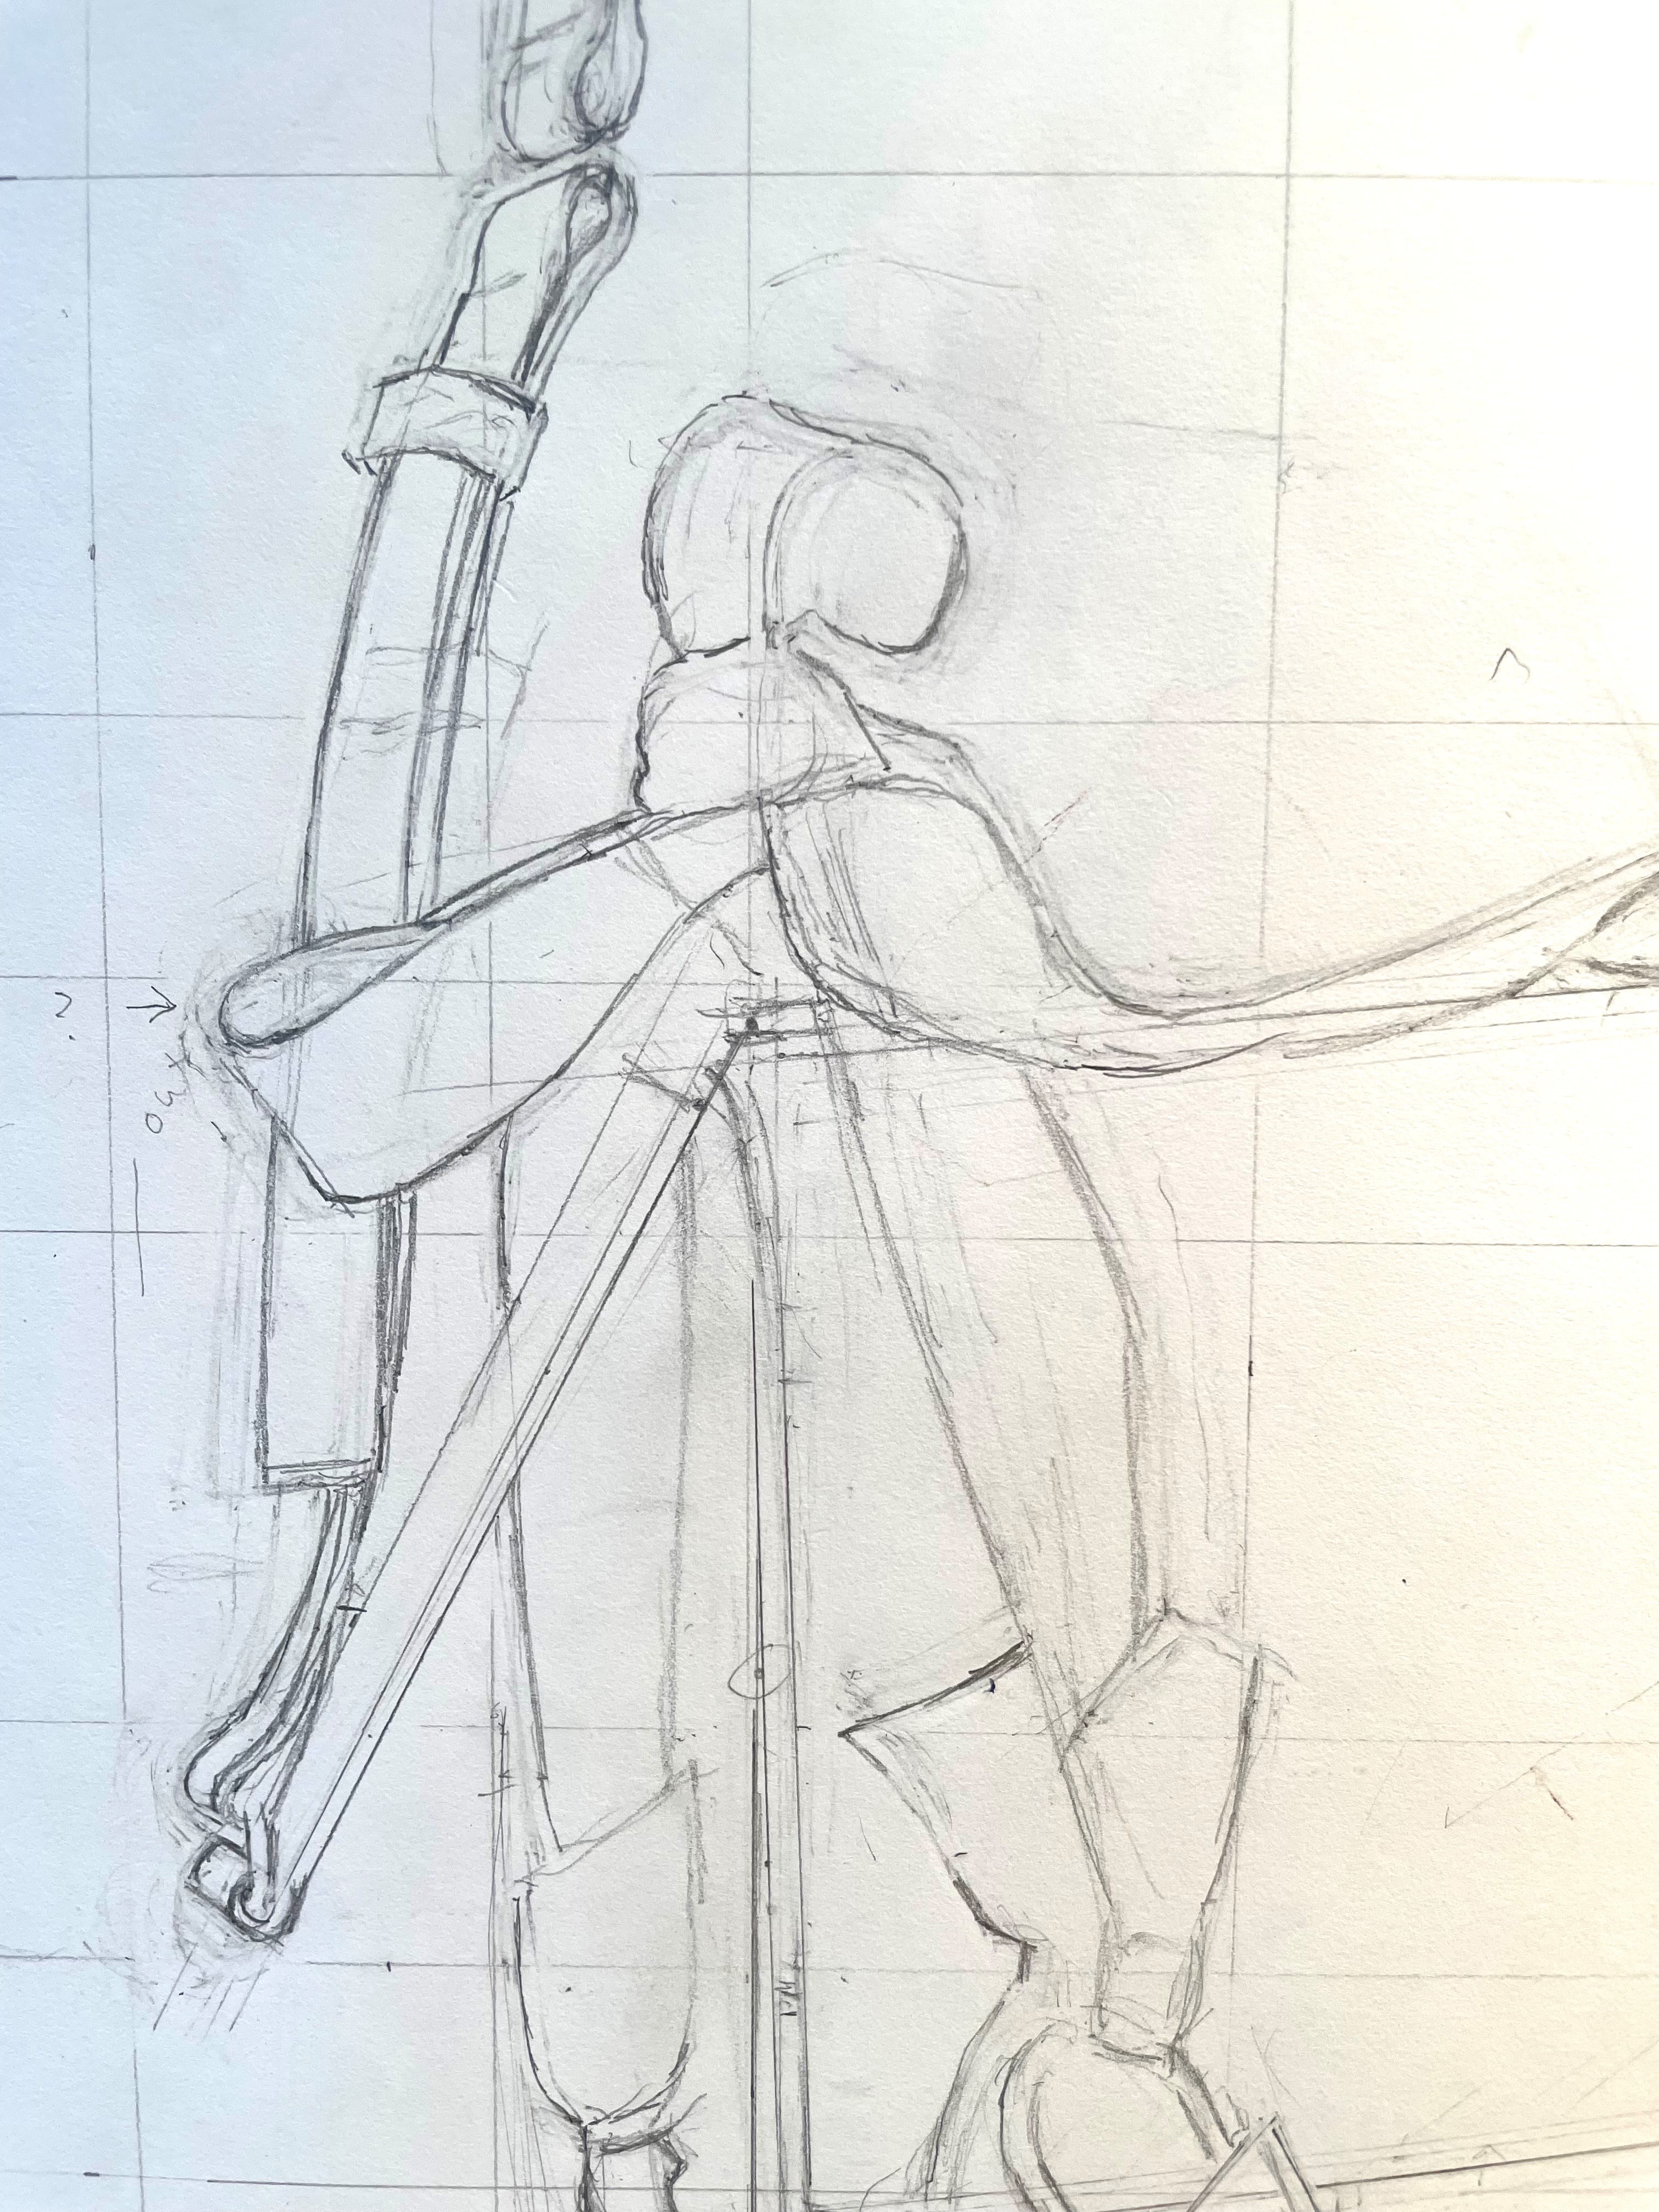
Above you can see evidence of my many corrections. It’s important not to be reluctant to erase and begin again if something isn’t right. Even though it’s a pain to begin again and loose time, I know from experience that I’ll never be happy if I know the drawing is not correct. Often, I will return to my drawing after being away for a day, and mistakes are glaring. When you’re working very hard on something it’s easy to get tunnel vision and convince yourself that something is right when it’s not. Take advantage of those first few moments of re-seeing your drawing to notice errors.
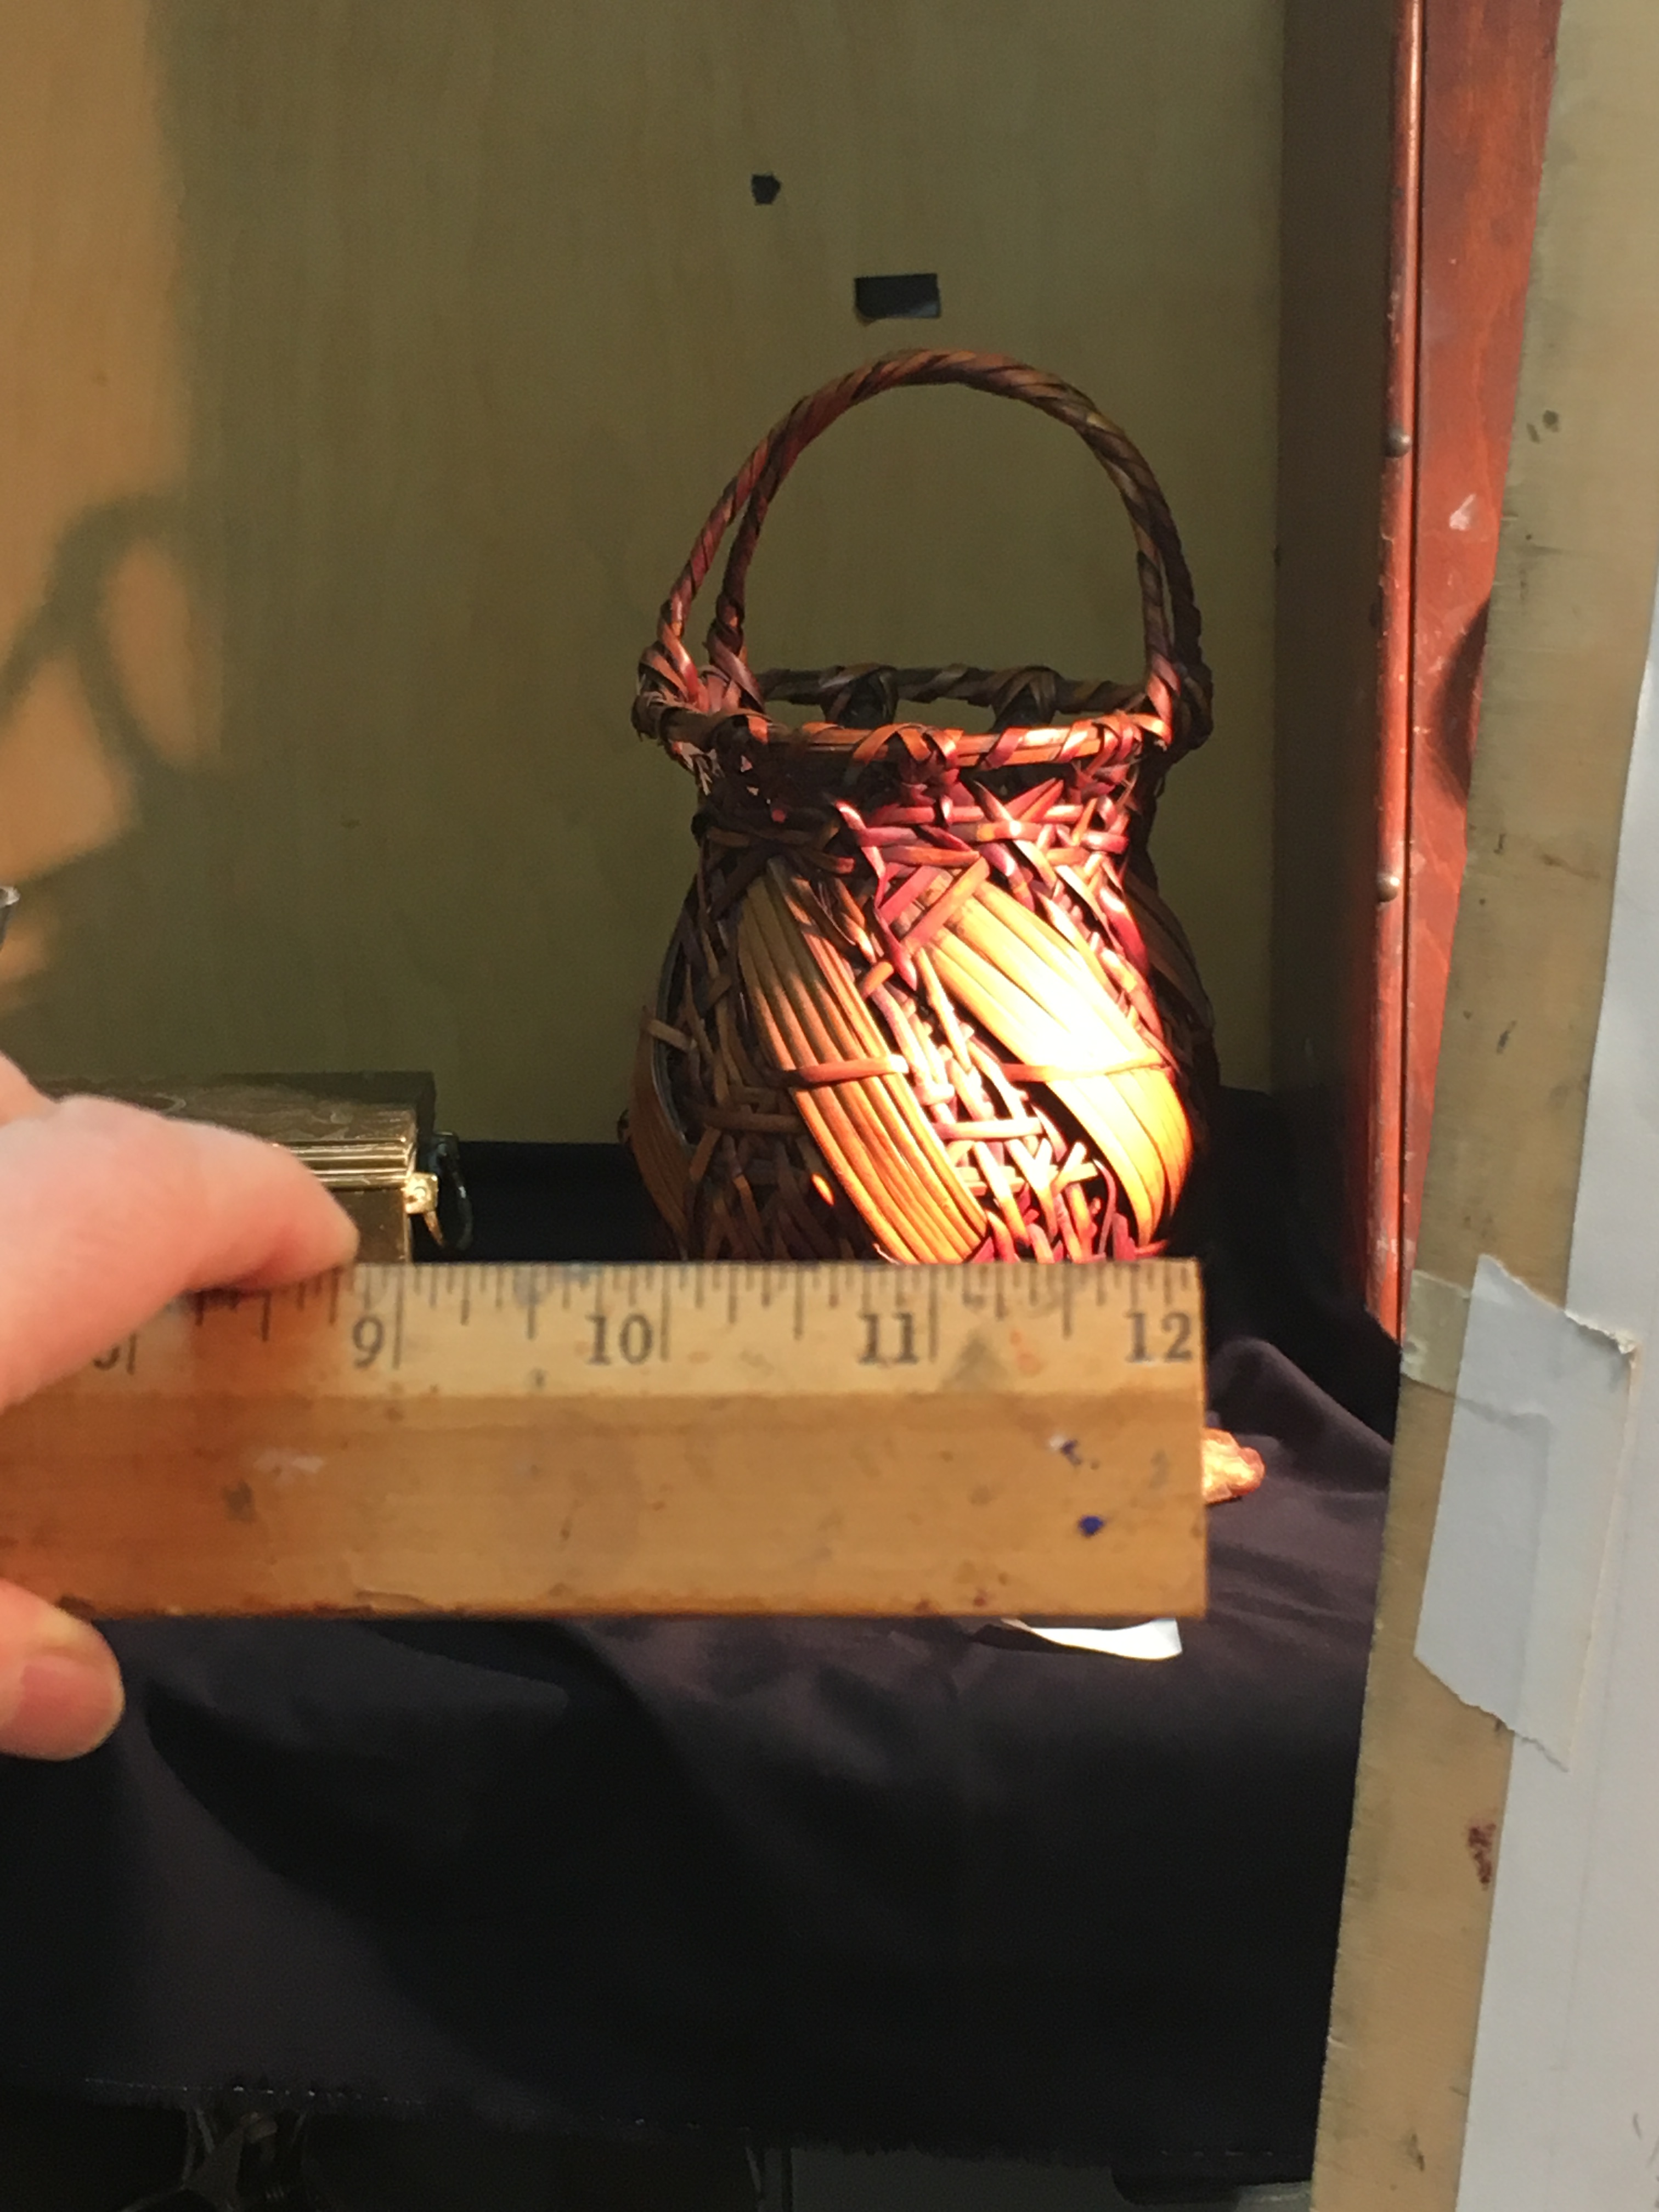
I use a few other measuring tricks. I’ll demonstrate with an older painting of mine. One of the most useful is holding up a ruler to the set-up and comparing relative sizes of different objects. In the painting above, I measure 2″ for the width of the basket. If I hold the ruler at the same distance from me, I could shift it a bit to the left and measure some other object, say, the box, and compare the two. It might be that the box measures 3″. I could then check if the proportions are correct in my drawing.

Above you can see me using another measuring method, crossing two knitting needles to mark the height and width of the basket with my thumbs. Holding the needles in this position, I can then move them as a unit over to my drawing, adjusting the distance from my eyes so that it lines up with the drawing, and then check if my drawing is in these same proportions.
Finally, you can use a knitting needle to align with an angle in the set-up, either between two points in the set-up or along an edge, and then swivel to look at the drawing, comparing the angle to your drawing, keeping your arm steady. This one is a little trickier to do. I find that if I sit in my swiveling stool, it’s easy to shift positions without changing the angle.
I still have a lot to do. I’ll check on it on Monday, and I’m sure that I’ll see that I need to make lots of corrections!

One comment
Do you want to comment?
Comments RSS and TrackBack URI
Trackbacks