The under-painting is dry, so I can begin to paint. My first job is to put in the dark glazes on the wall. I like to do this first for a few reasons. First, the glaze smears a bit when I’m tamping and wiping off the excess. If an area adjacent to the glaze is already painted, it’ll get glaze all over it. Second, it can be tricky to get such a large area of glaze smooth and even. I prefer when there’s no other paint on the canvas that would potentially smear into it. I glaze just the darkest areas in this round.
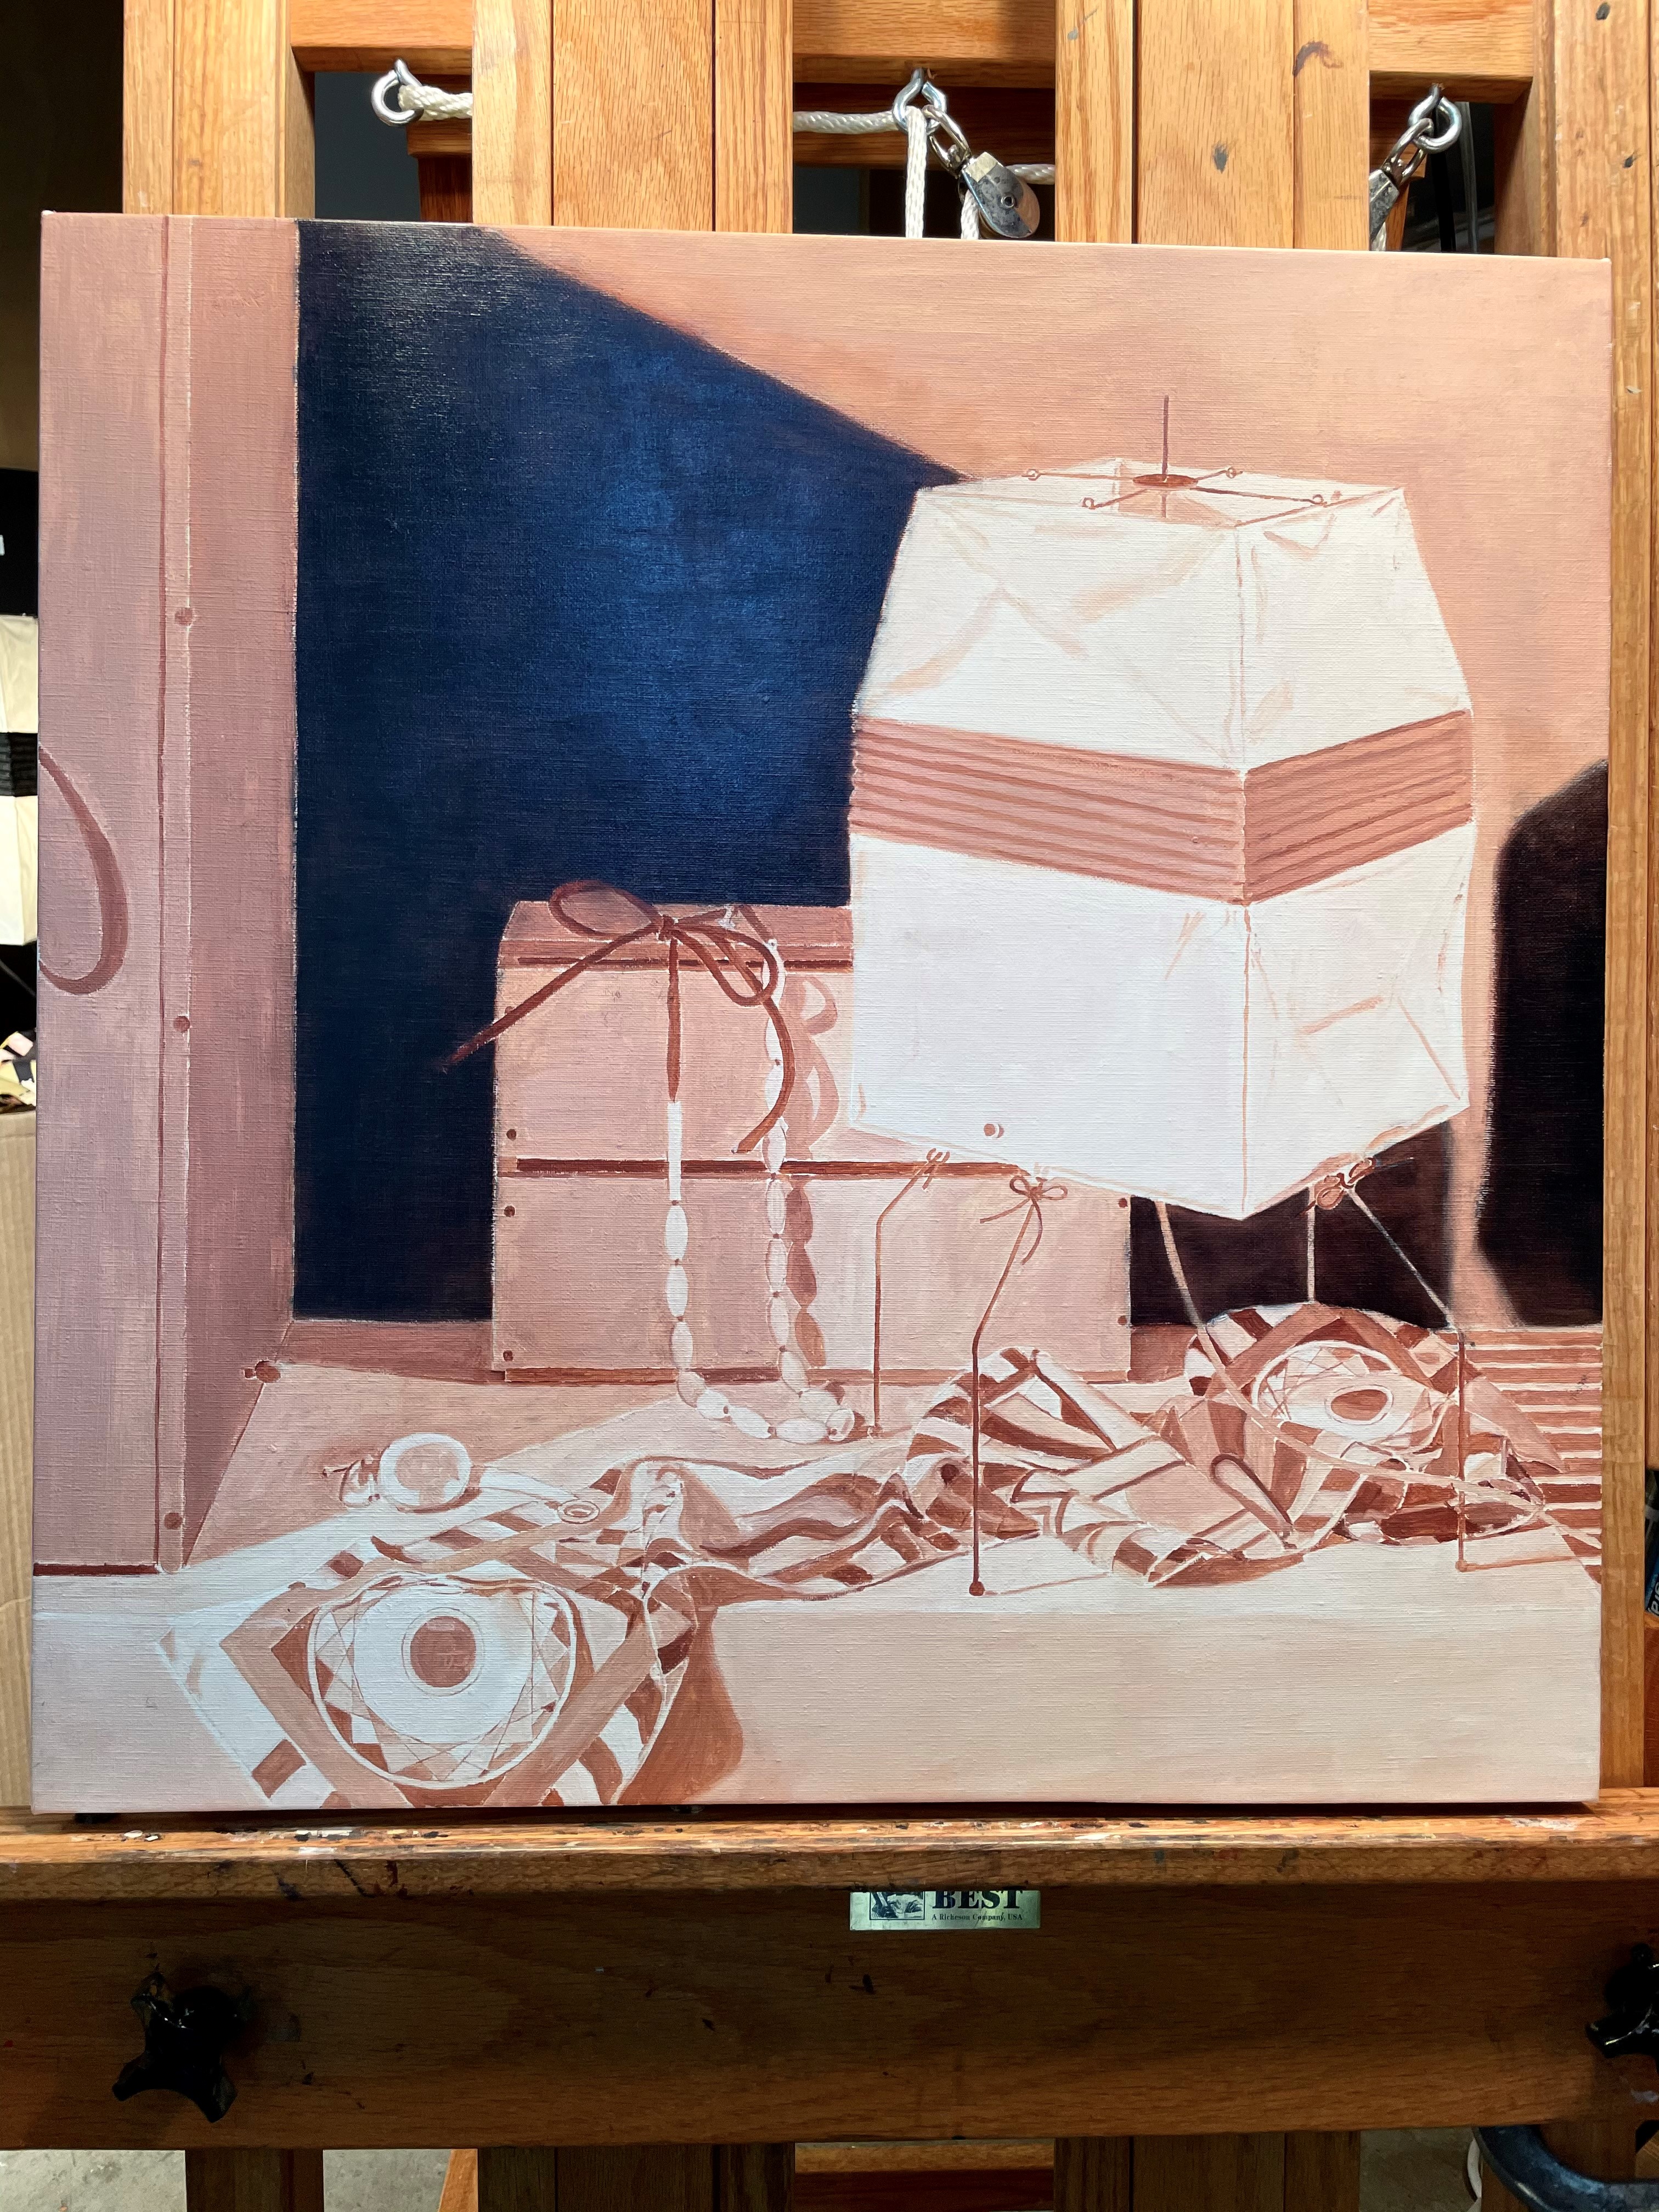
I brushed on a glaze of raw sienna and ultramarine blue mixed with a little glaze medium. I tamped off the excess with a shaving brush help perpendicularly to the canvas, wiping off the bristles when they became clogged with glaze. I often simply wipe off excess glaze with a cotton pad, but that can produce uneven results in a large area such as this.
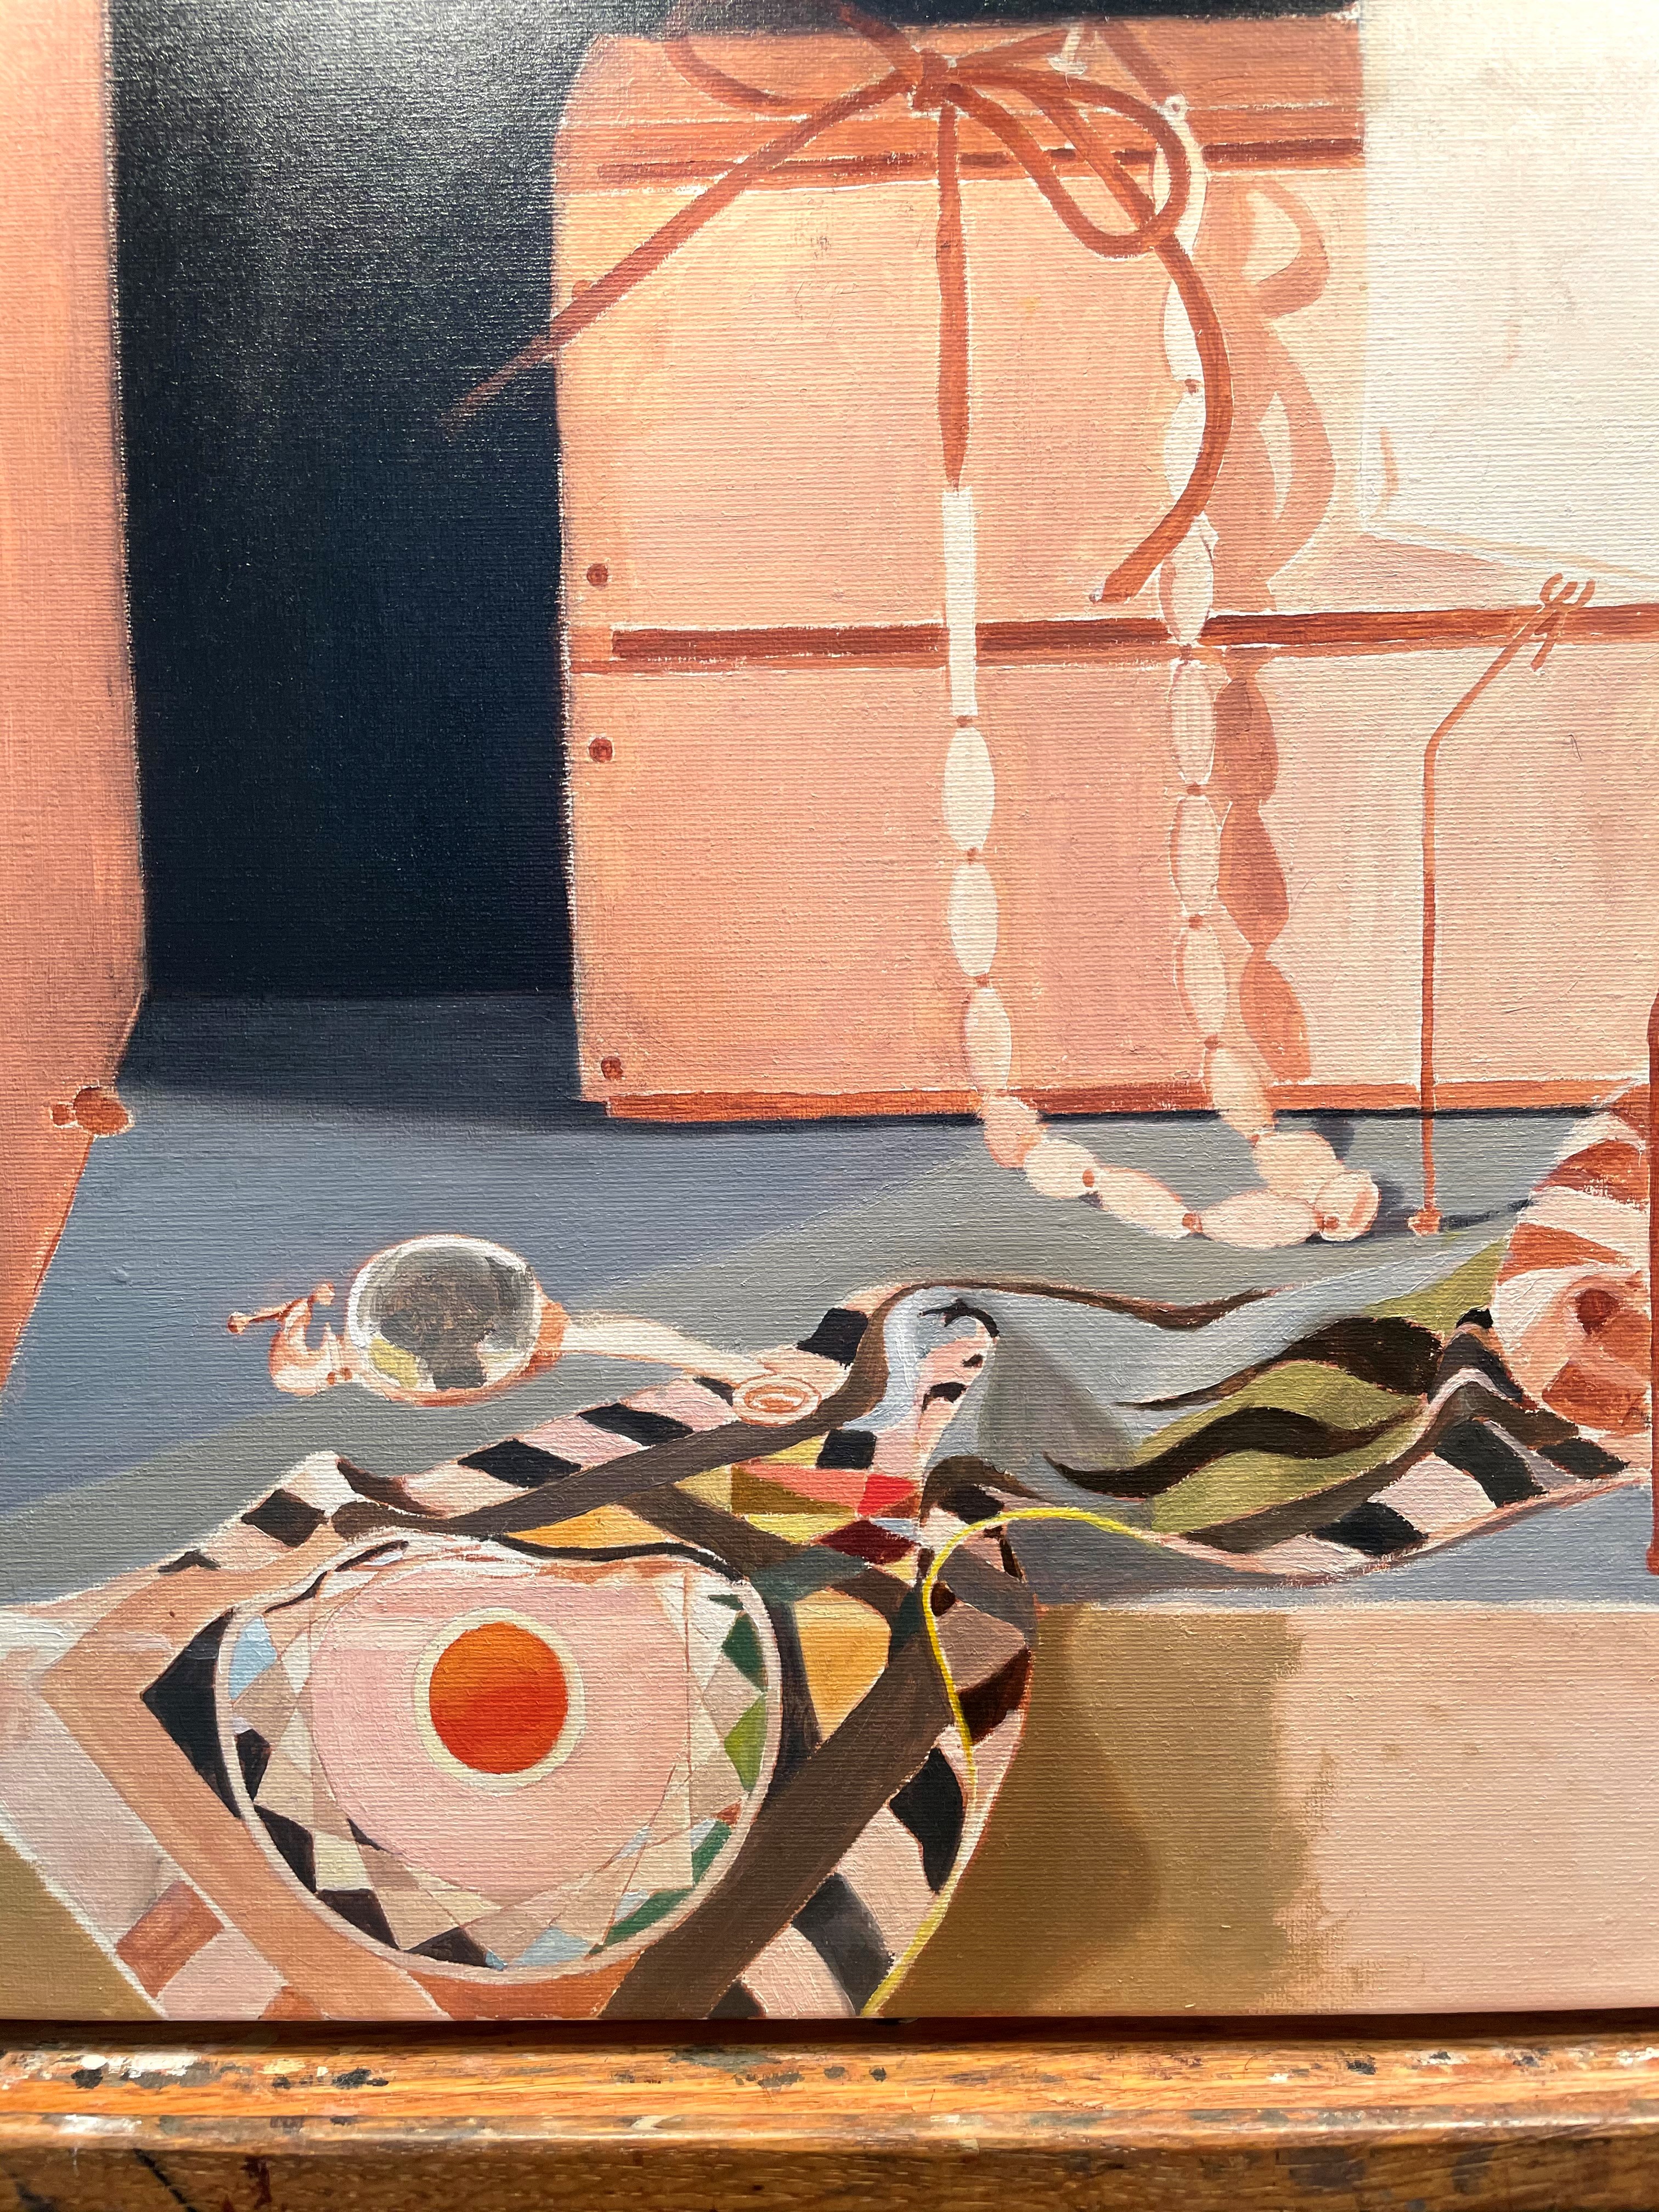
I’ll let this glaze dry before I work on any adjacent areas. The scarf and tabletop are not touching the wall, though, so I can begin working on those. I start by putting in local colors. I’m not worrying about exact light or color effects at this point. I’m just getting the values and colors closer so that when I paint them again, I can make better judgements. I paused here for the day.
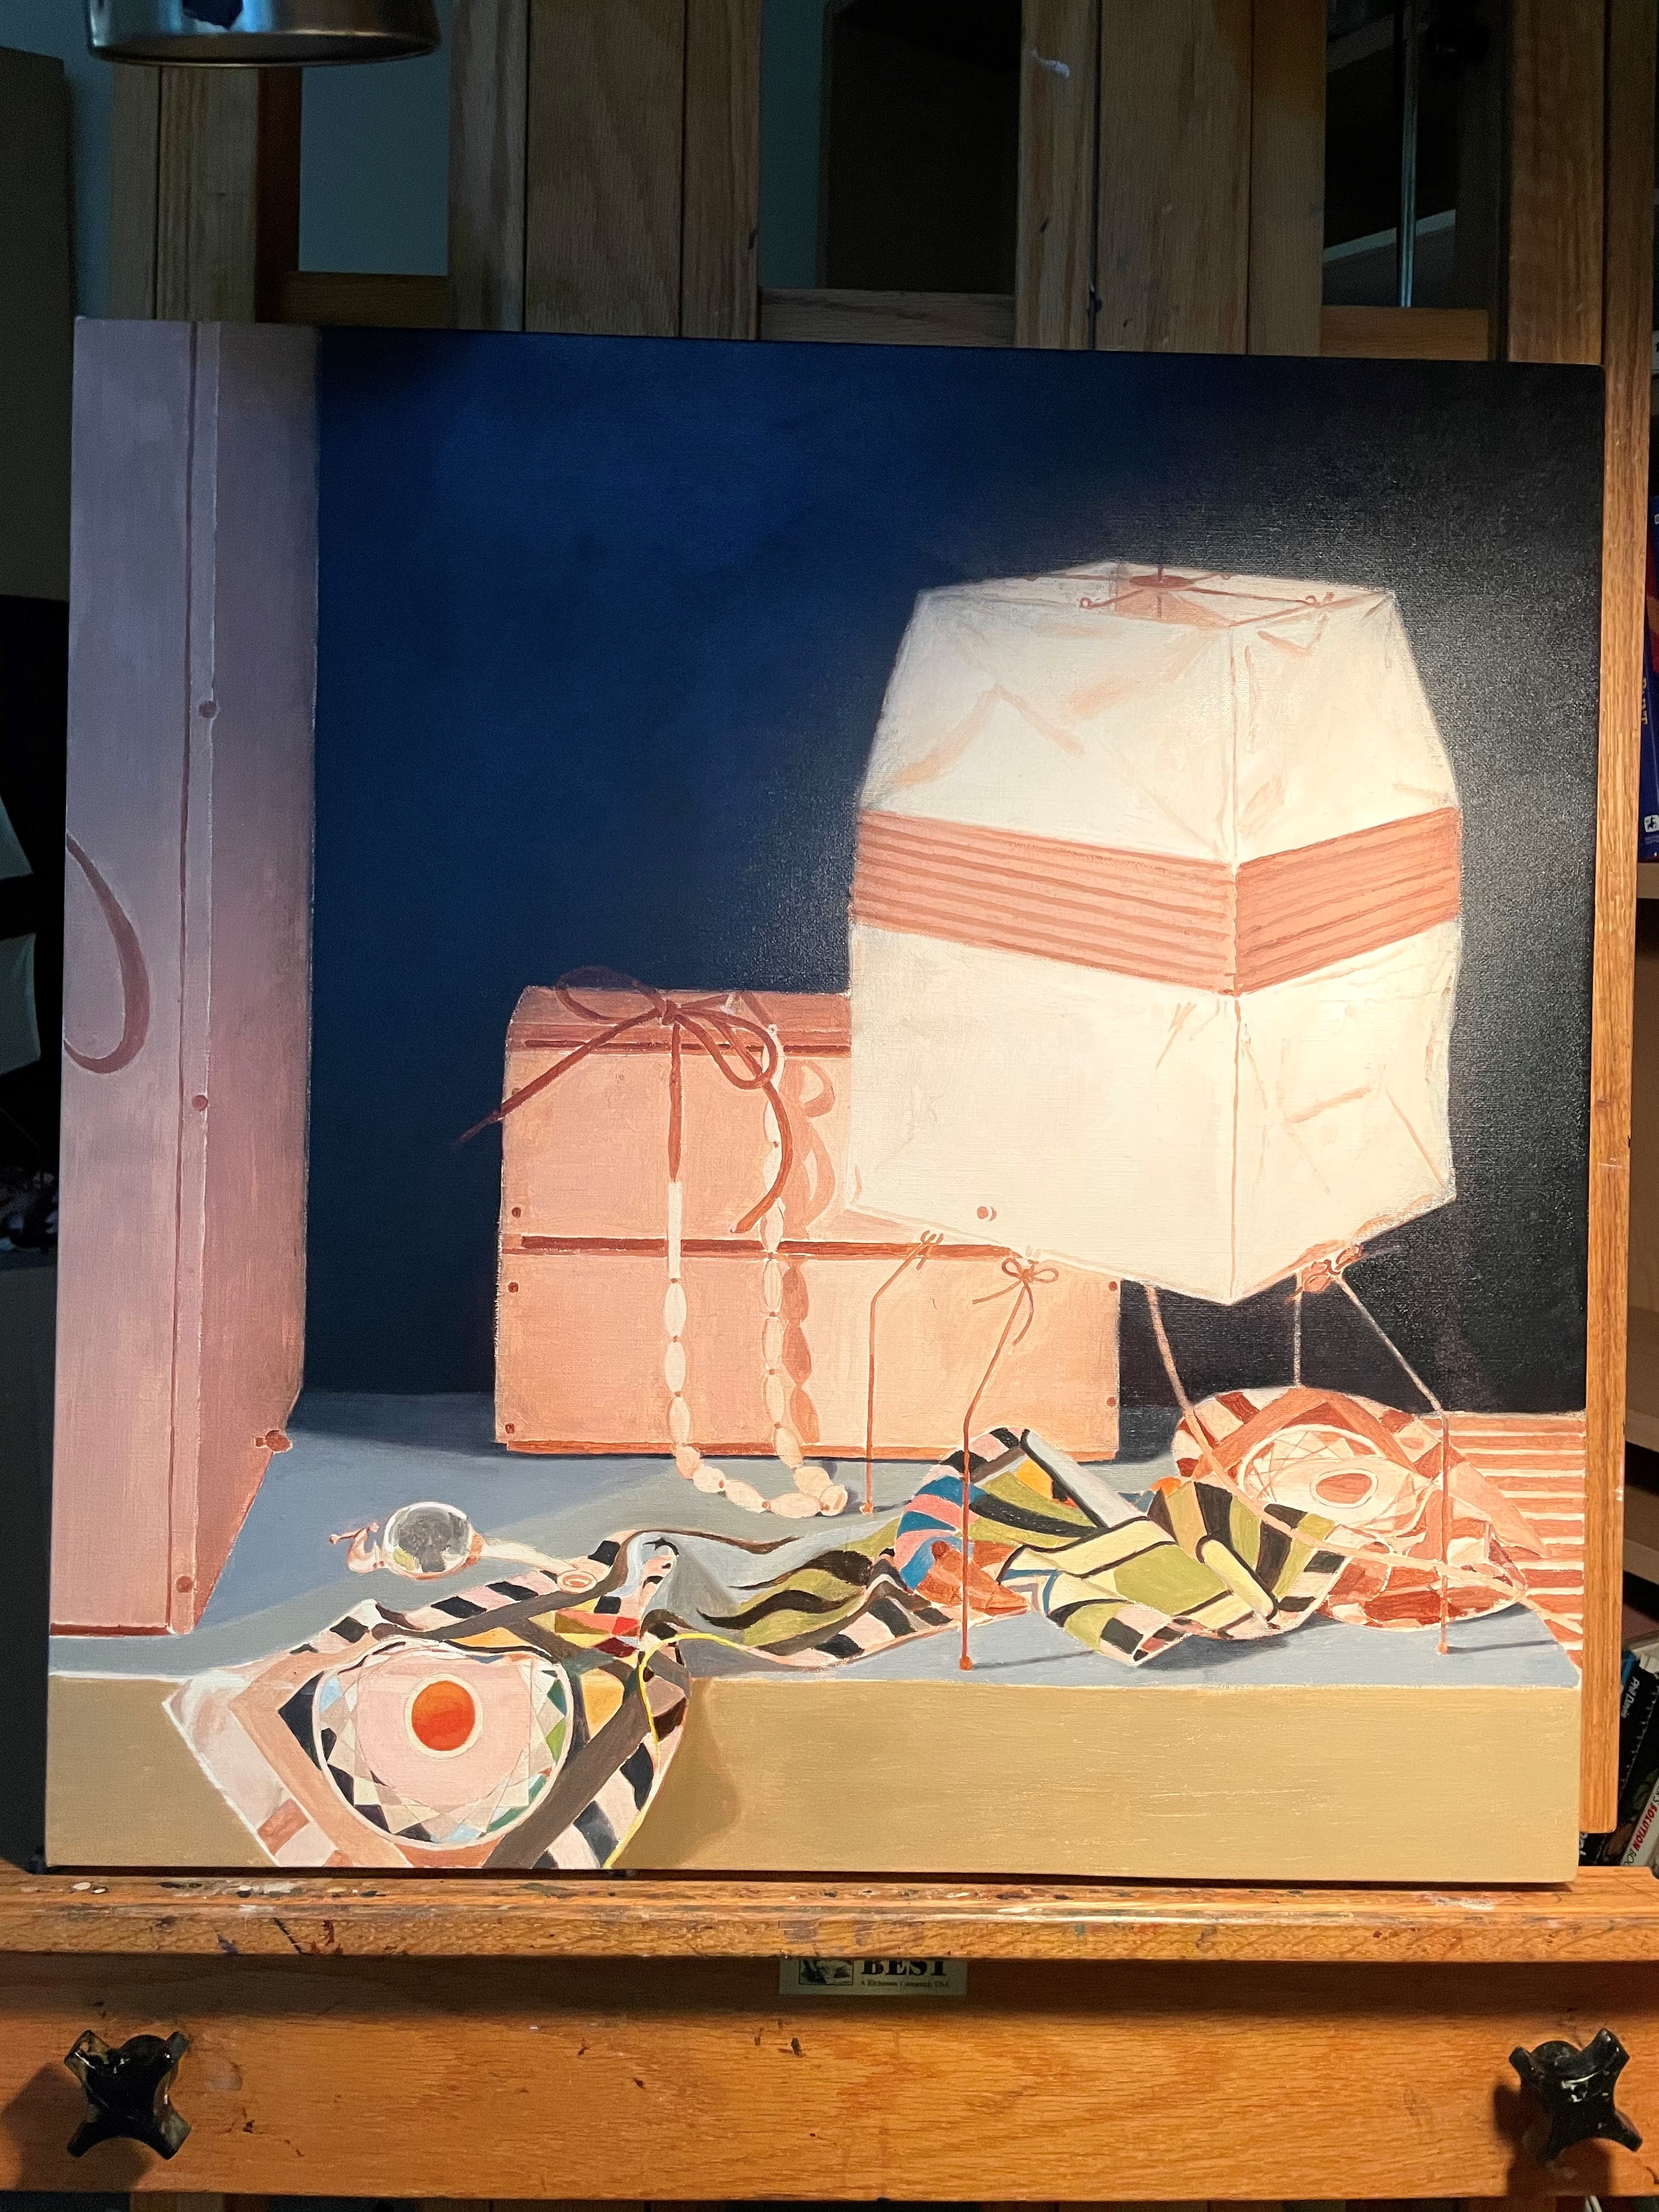
Above, at my next session, I put down another glaze on the back wall, covering all of the wall this time. The area that was glazed the first time, gets another layer. The lighter values areas will have just this one layer of glaze. I carried the glaze down to make the shadows cast by the orange crate on its left and right sides. When this glaze is dry, I can begin to work on the adjacent areas–the lamp, orange crate and box on the left side. Meanwhile, I continued putting in the local colors on the scarf, correcting shapes as I go. Somehow, the drawing seems to get messed up in the transferring process or I discover that I drew things incorrectly in the first place! In any case, it’s always important to observe and correct.

