The initial glazes are dry now, so I can add some more. The shadow cast onto the sandstone and wall from the right needed darkening. Below is how the painting stood when I began. Under that is how it looked after I added the glaze.
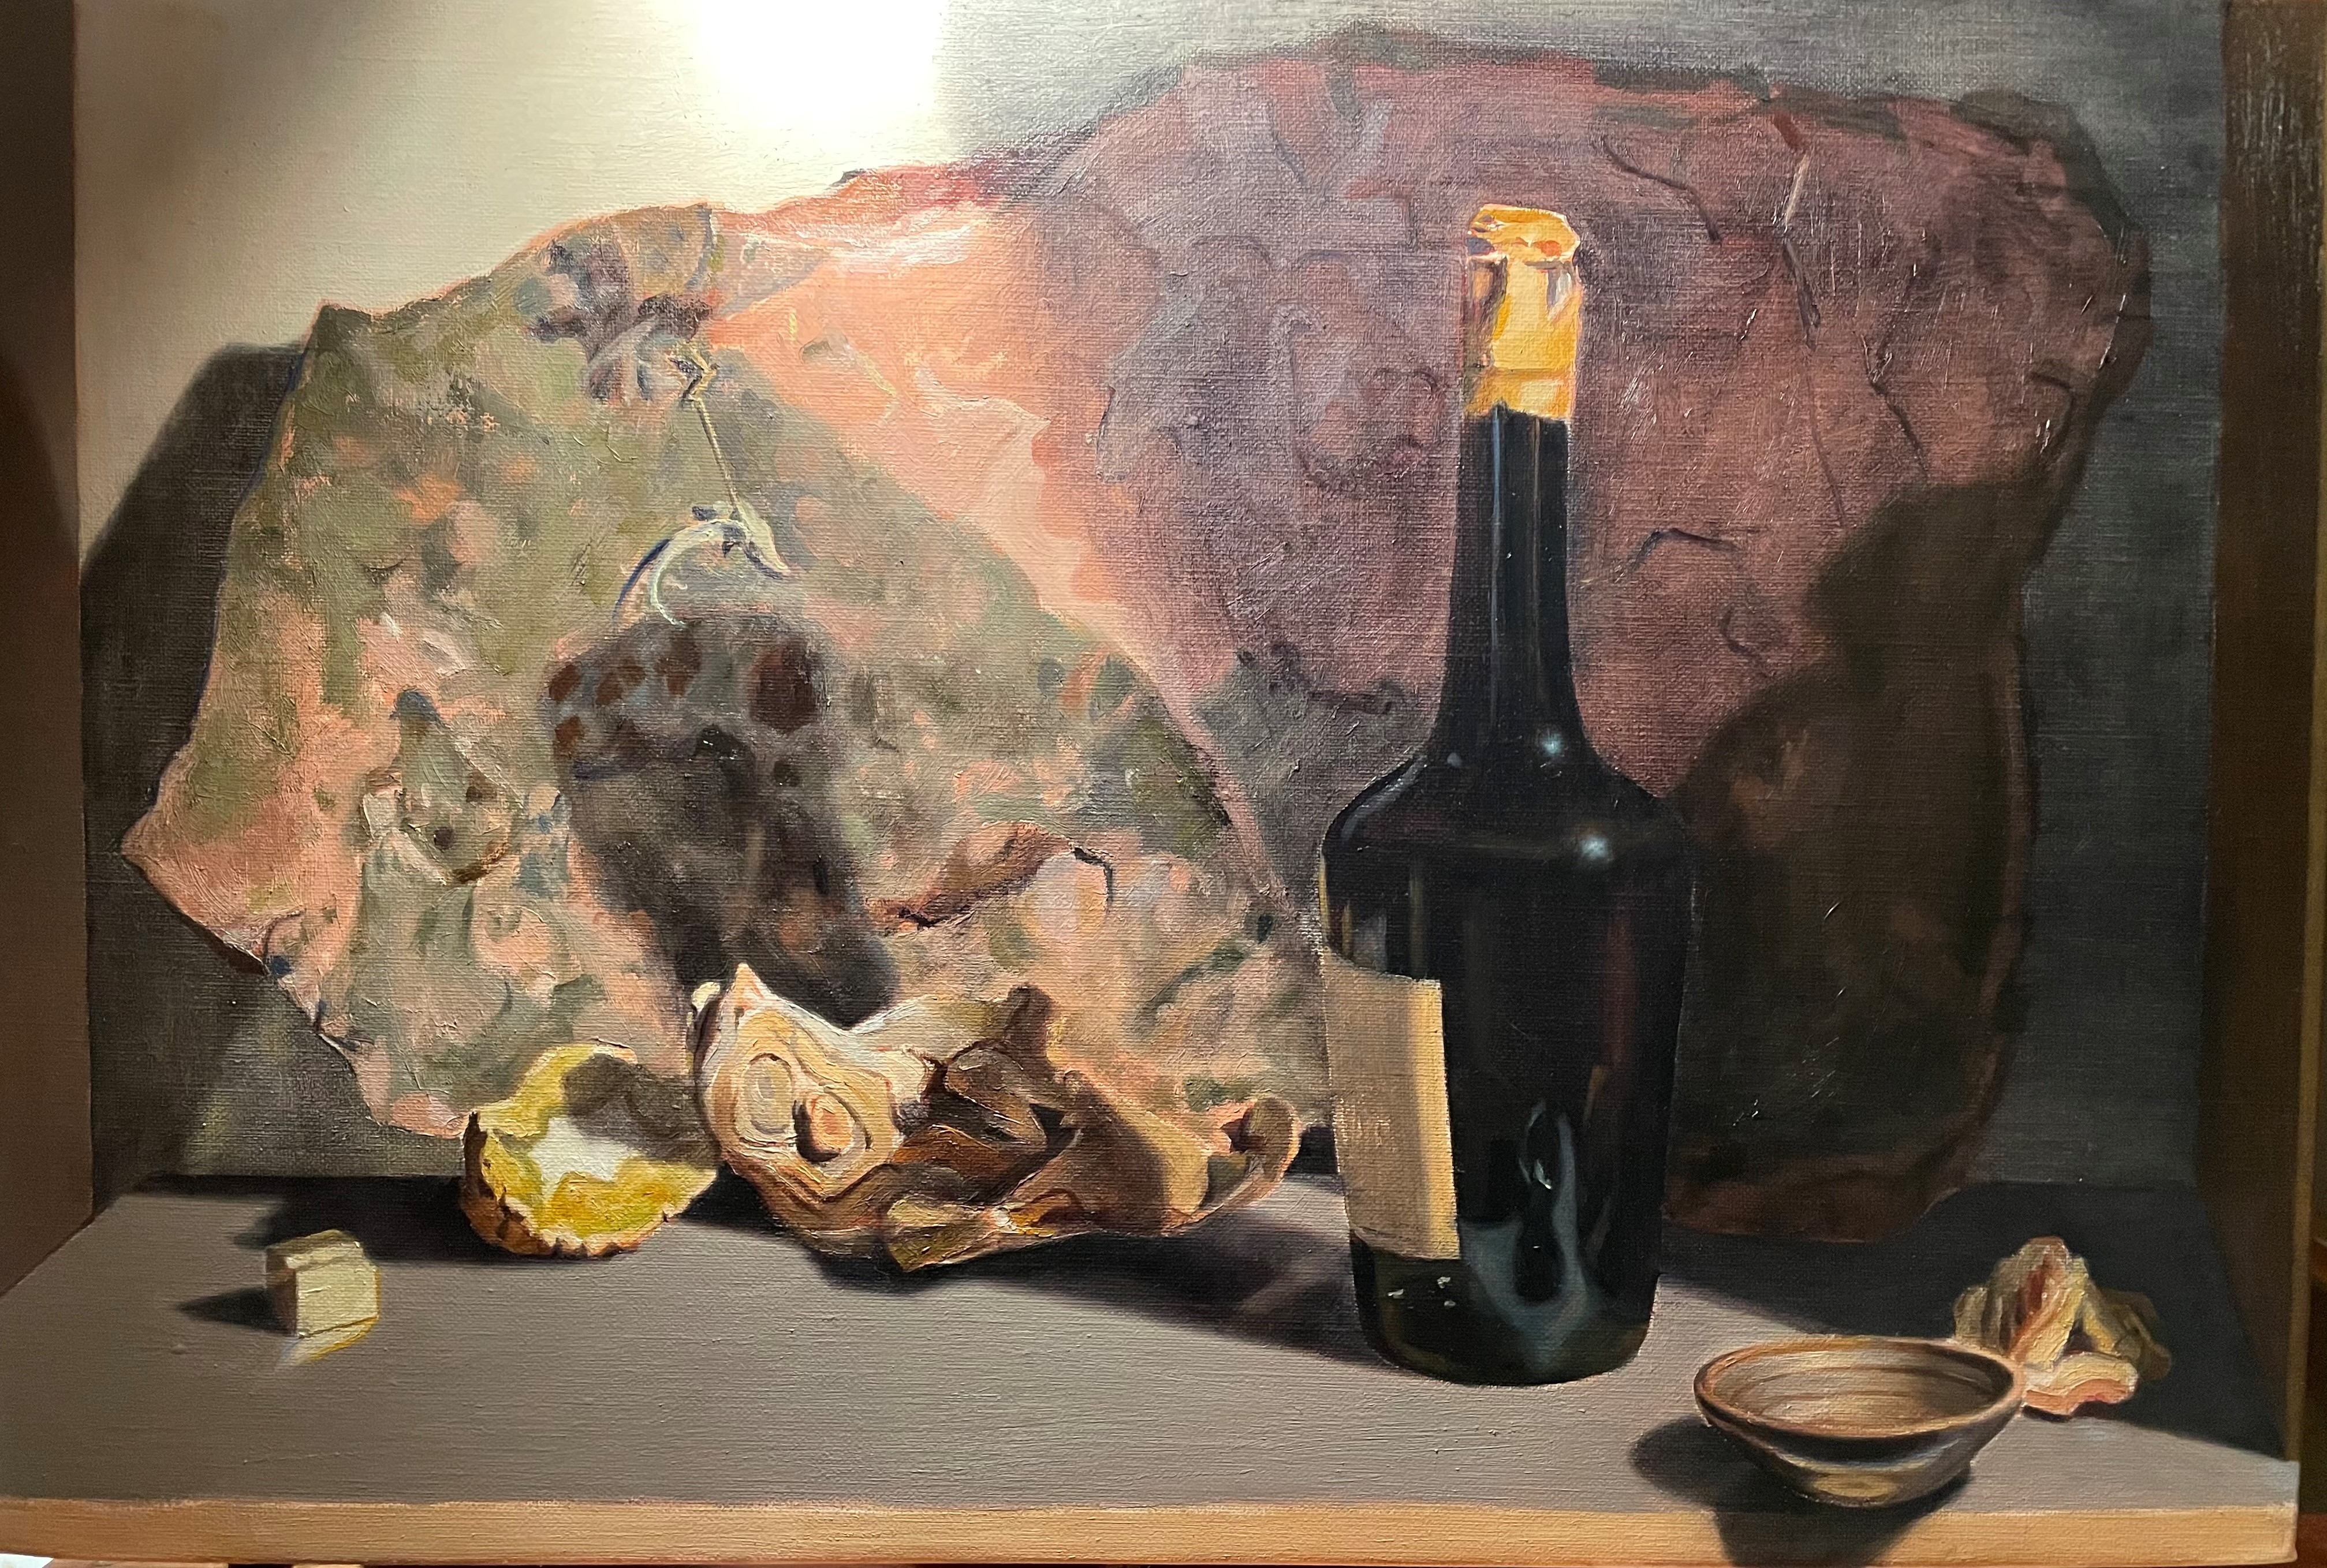
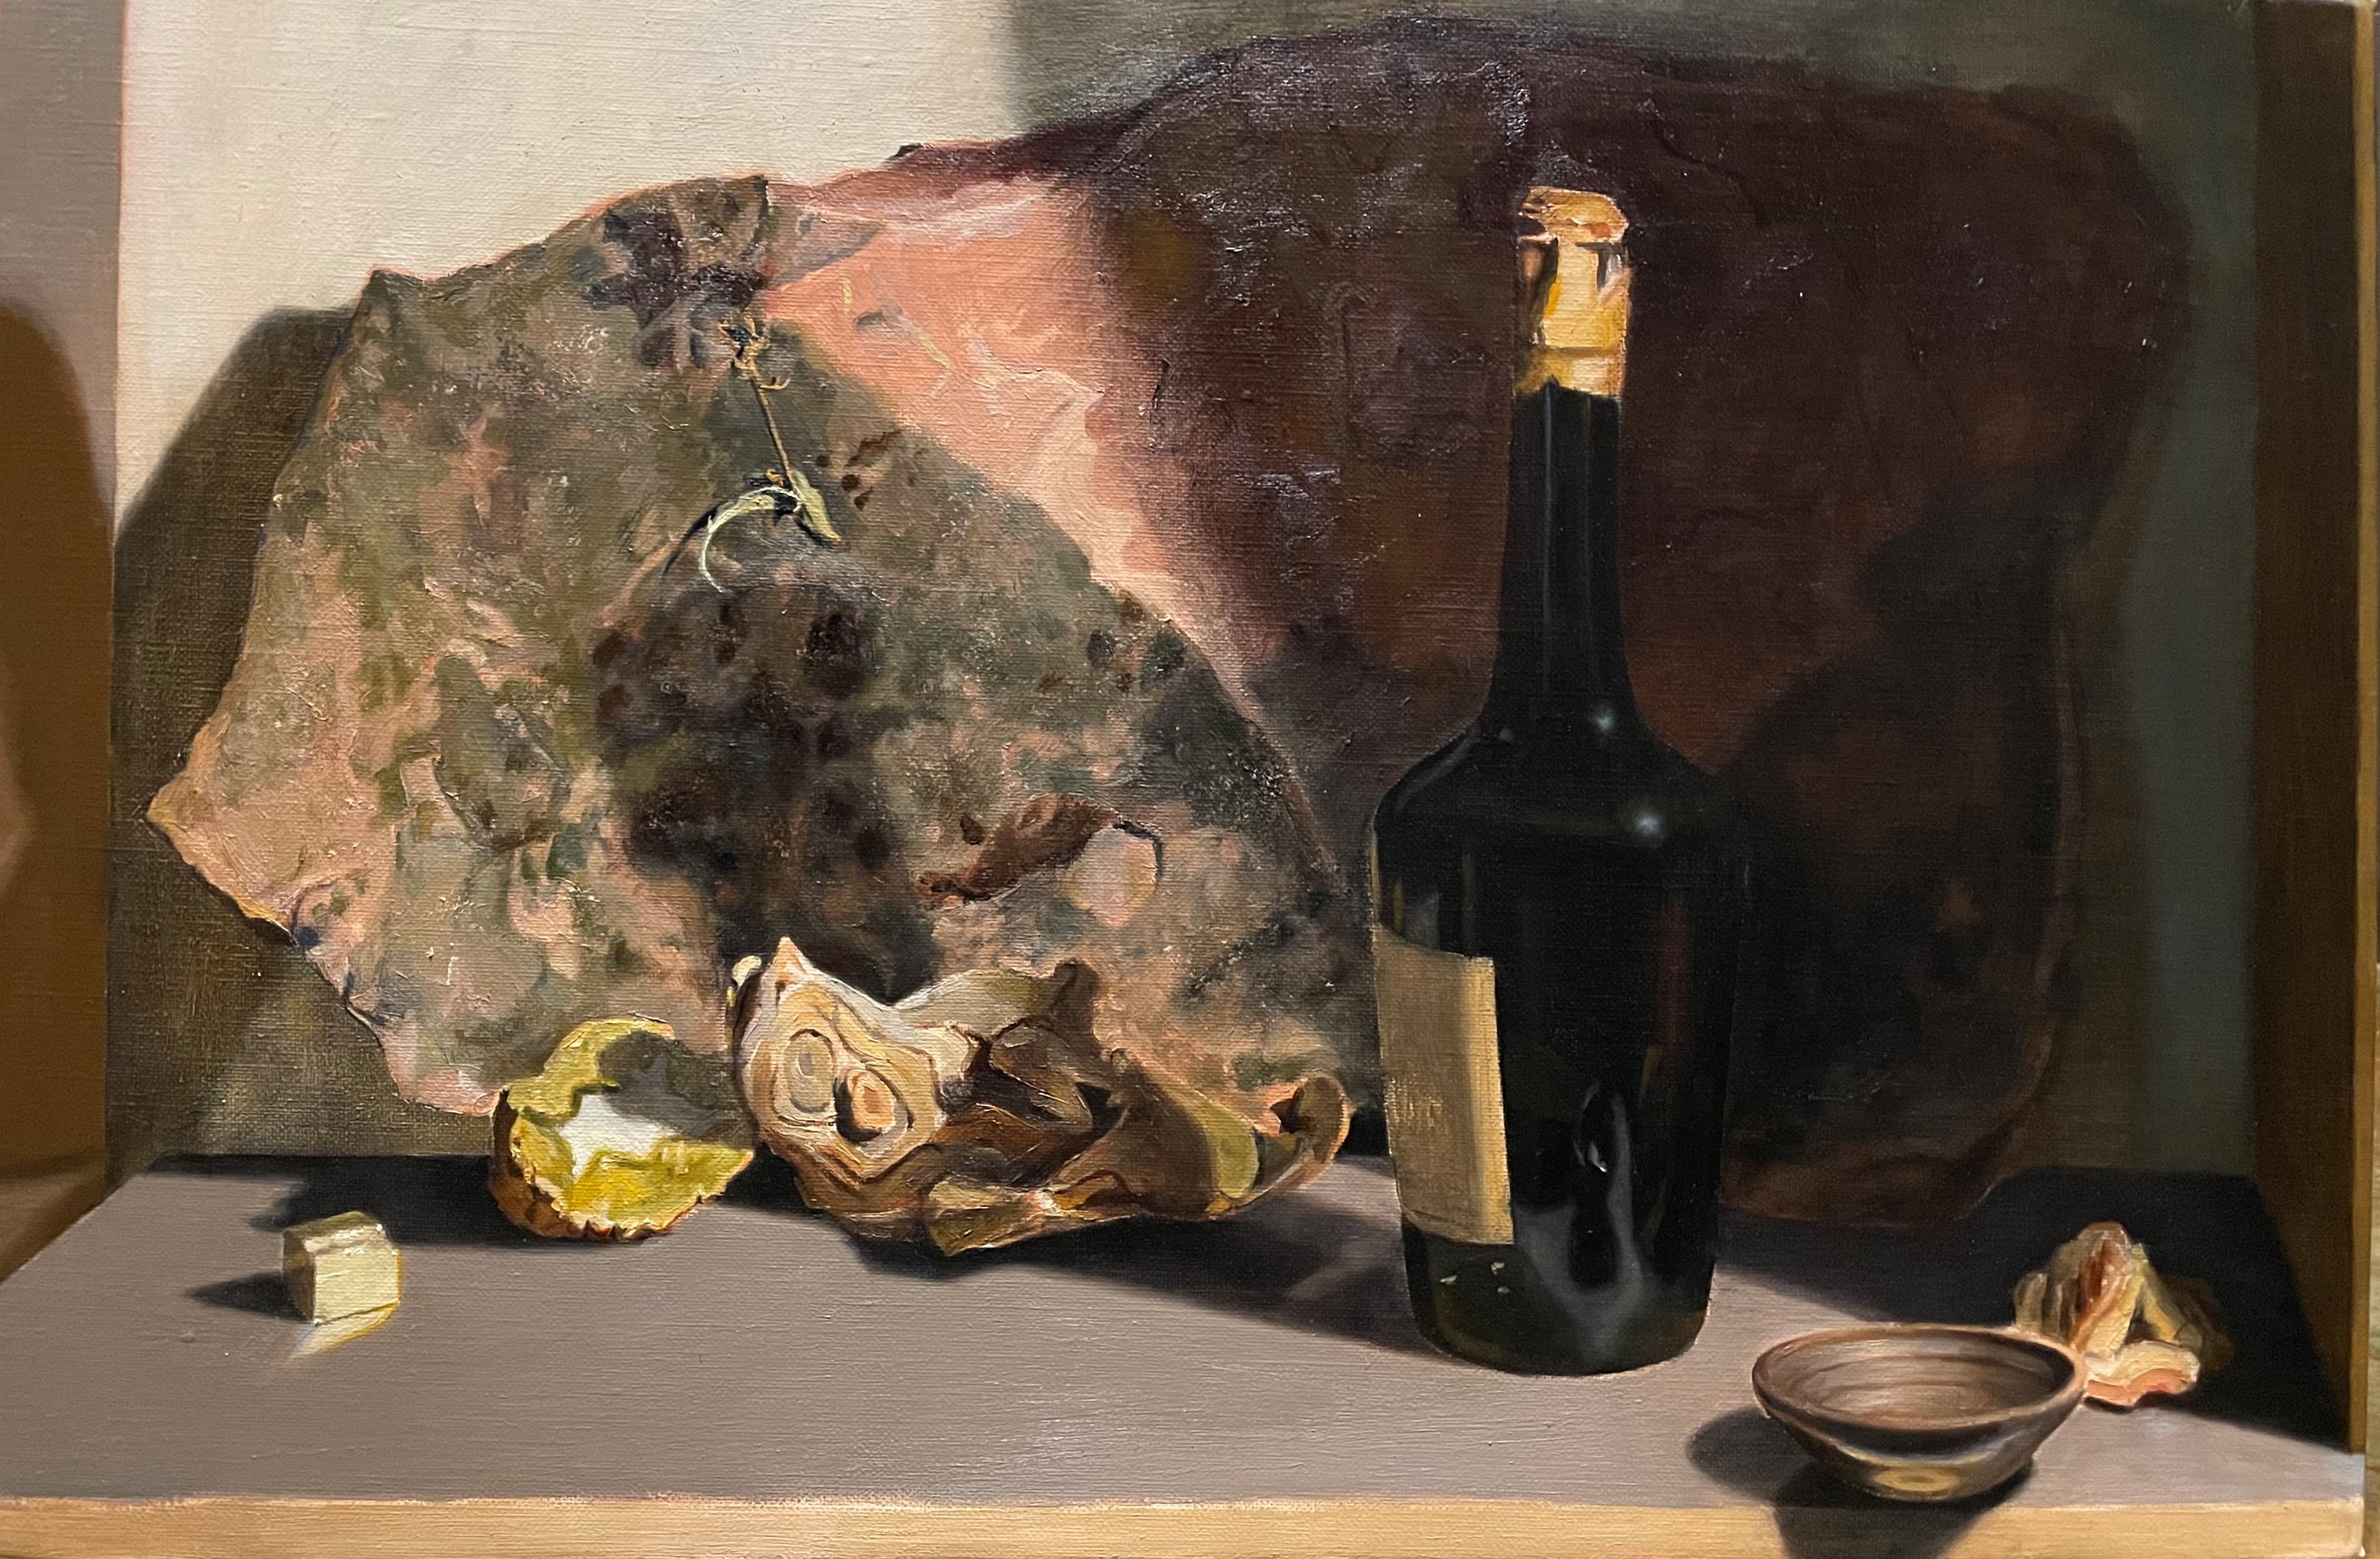
The shadow is probably too dark now, but it’s hard to tell at this point. I can always paint over it later in places to lighten it. I noticed that the sandstone casts a shadow onto the wall to its right. This is from light coming in from a window on the left. Because that light is cool, coming from a north window, the shadow will be warm. To indicate this, I used the technique of painting into a wet glaze. While the glaze I just painted was still wet, I painted a cool lighter tone to the right of the shadow. Because the glaze was wet, It was easy to blend a smooth, soft transition. The untouched glazed area now is the warm shadow.
I also added a warm glaze to the shadow on the left, cast by the sandstone onto the wall. I corrected the color on the far left wall with a layer of body color (paint not thinned with glazing medium). The area seemed a bit insubstantial, and needed some thick paint. Glazing is great to darken shadow areas, or to change the color of an area, but if used too much, gives the painting a thin look.

Finally, I wanted to paint the dried sage leaves before they dried up more and changed too much or fell off! I usually wouldn’t paint at this level of detail so early, but this is an exception. Above is a photo of the leaves. I didn’t paint using this photo as reference, just to show what it looked like (though from where I was sitting, I could never see or paint this level of detail!).
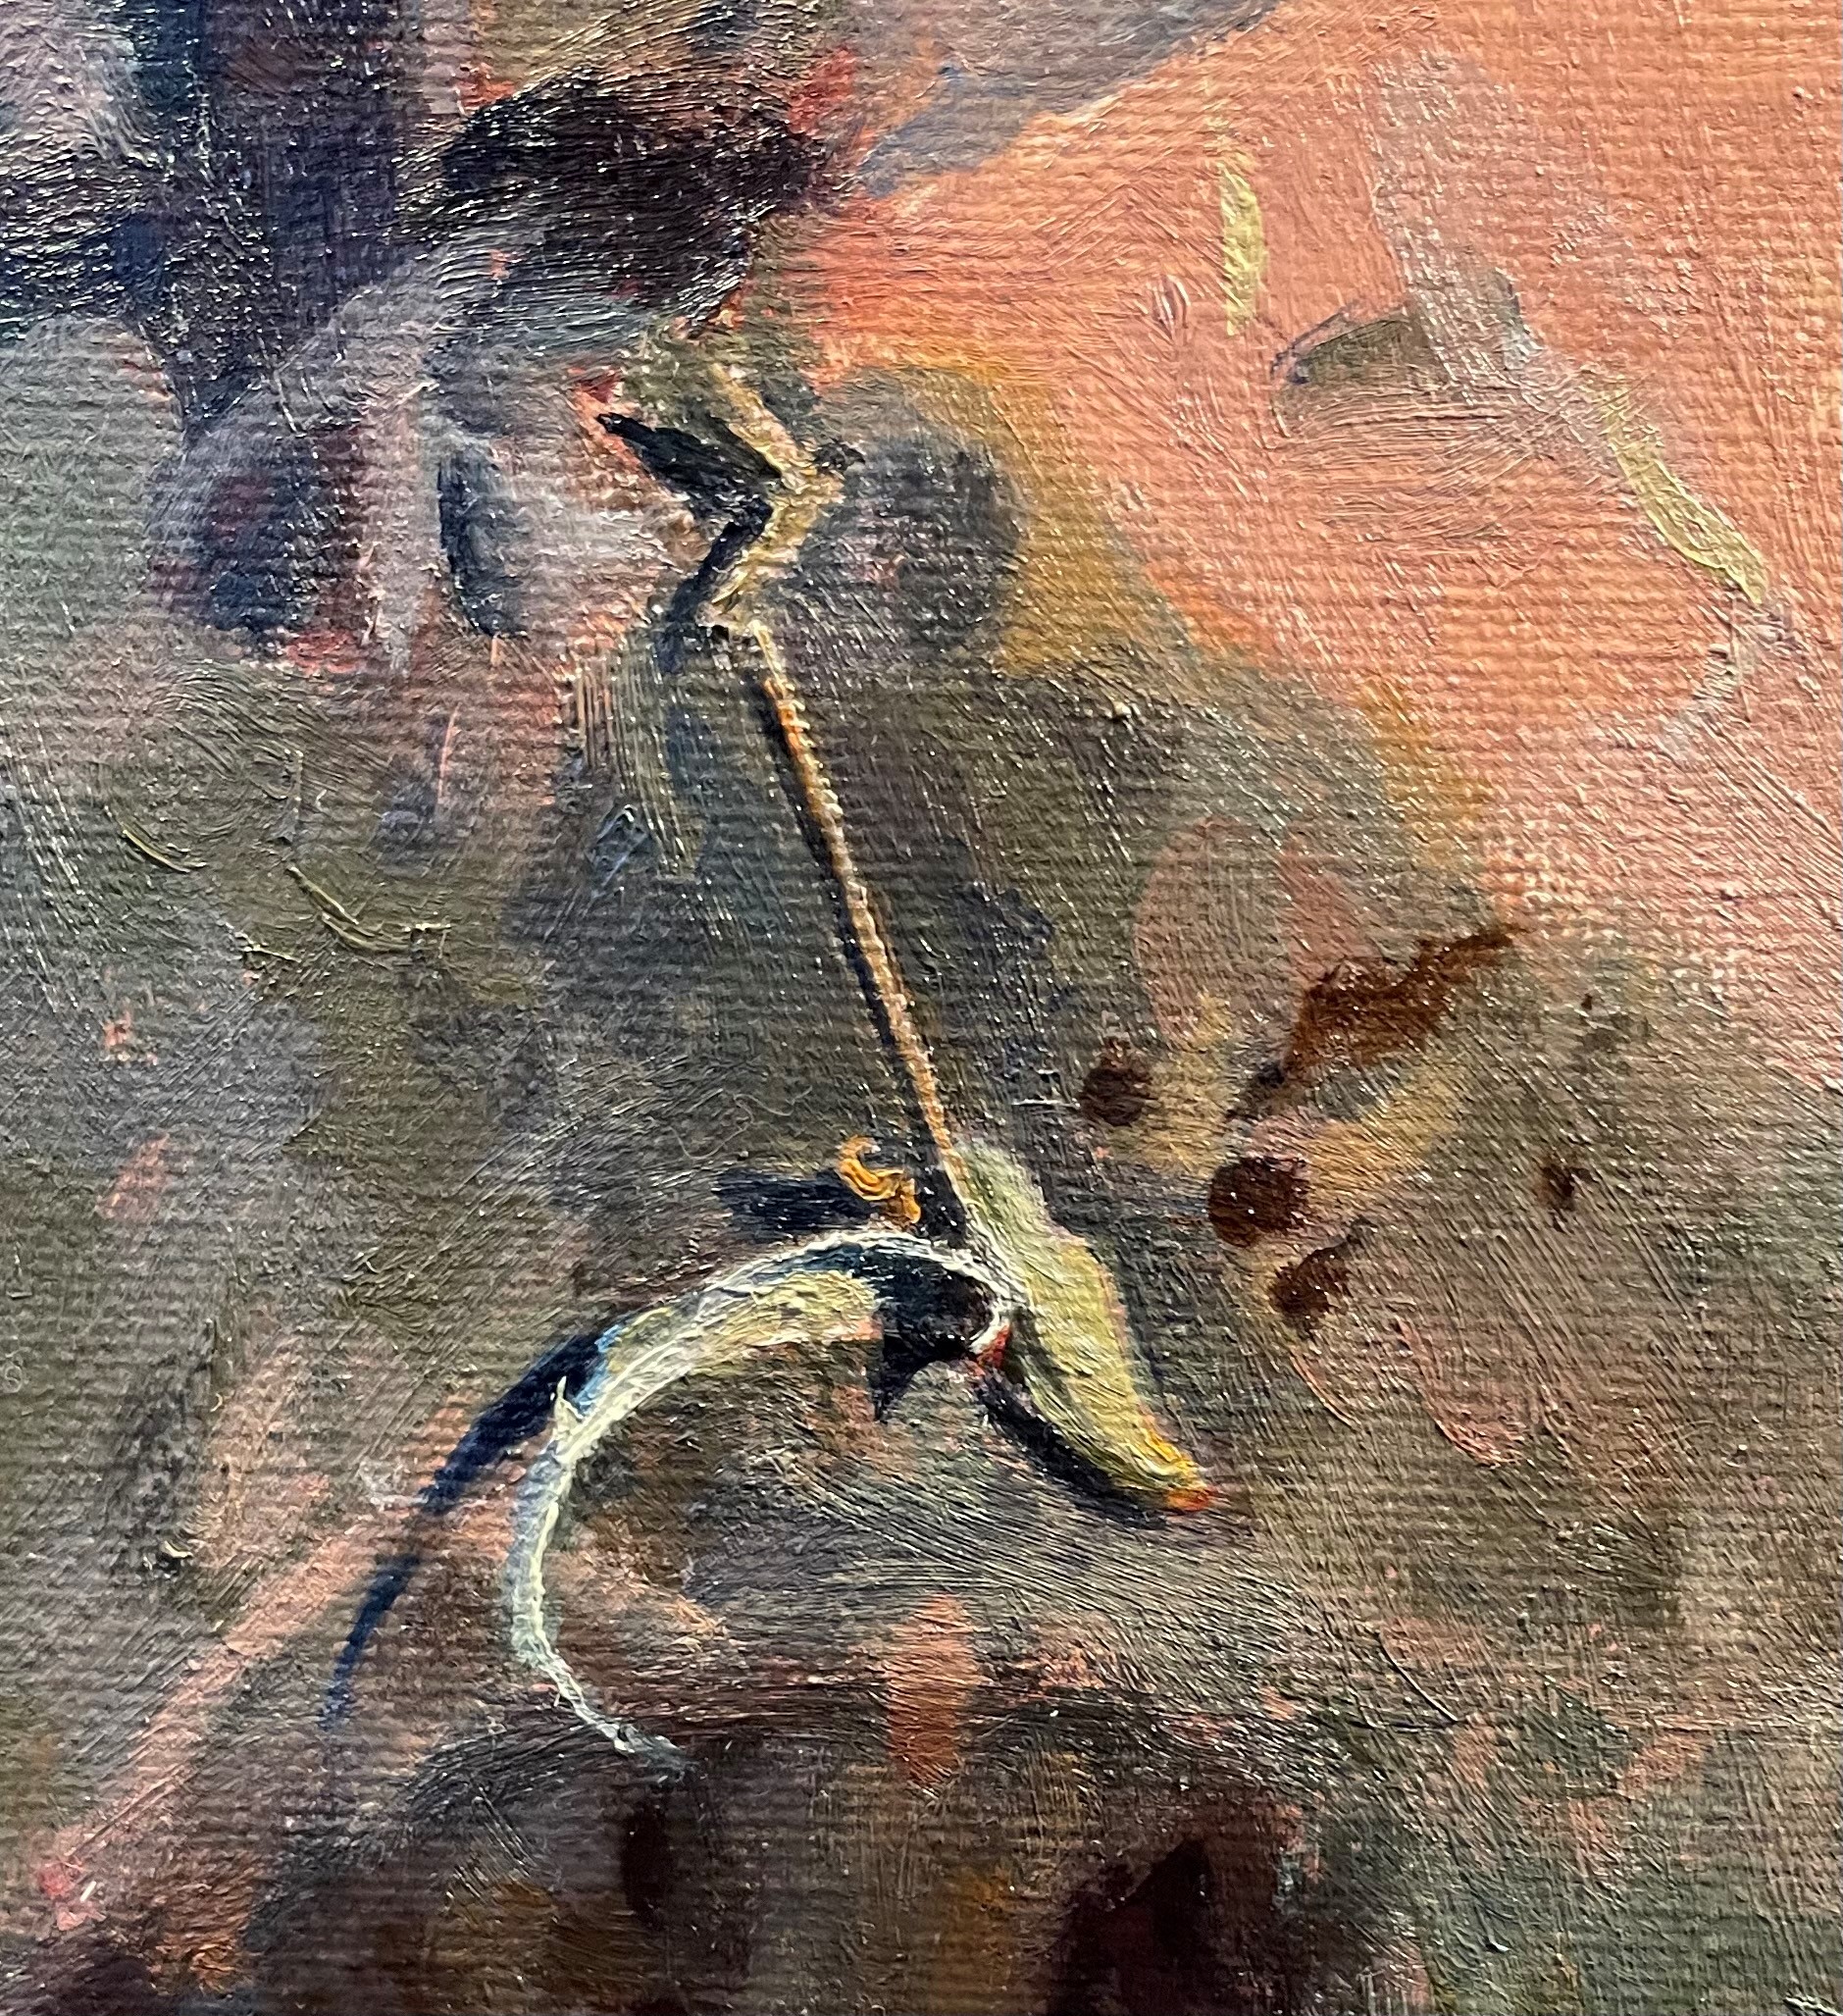
I’ll work on this some more, but I have enough now that they’ll look convincing, even if they change on me.
