Now that I have a composition that I’m happy with, my next step is to do a full-size, detailed pencil drawing. In this drawing, I can work out the correct shapes and exact placement of all of the objects in my set-up. I can calculate precise ellipses for the round objects, and work out the correct perspective. I’ll transfer this drawing to my canvas when I’m ready to paint.
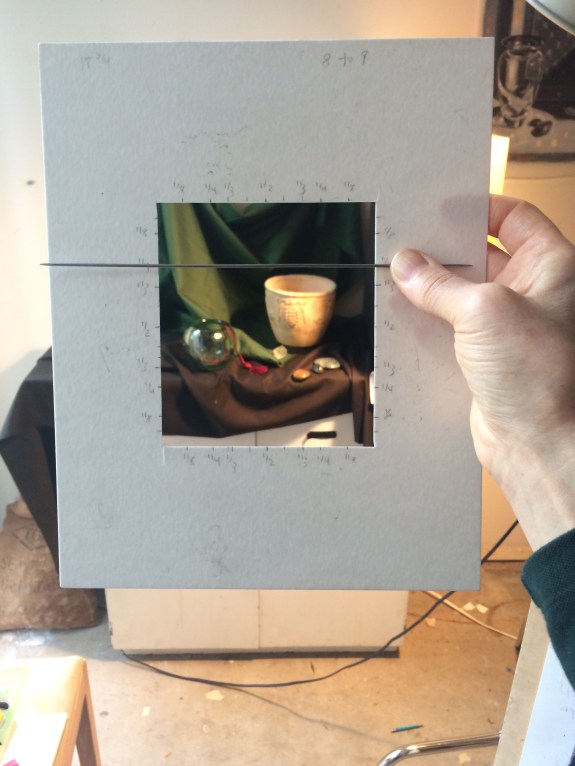
The first step in doing my drawing is to figure out how large I want the finished painting to be. I find that just under life-size works well for still lifes. When painted this size, the painting looks life-like and compelling. I measured the width of the set-up and scaled it down a bit. I drew a rectangle of the correct proportions on sketch paper taped to my drawing board (using the same proportions on the view-finder I used for composing), and divided it into halves, thirds, fourths, eighths, etc., both horizontally and vertically. My viewfinder has all of these divisions marked ono it, as well. By holding up the viewfinder in front of me and looking at the set-up through the window, framing it as I want the finished image to appear, I can use a thin knitting needle as a guide to see where objects line up with the divisions (for example, the top of a vase might line up with the one-third horizontal mark). I can then draw the objects in the corresponding place on the full-size drawing. Here is a photo of my using a viewfinder when drawing another set-up.
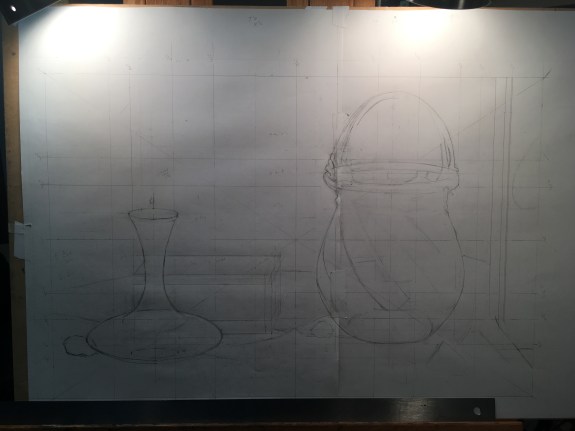
Here is my first shot at locating the major objects. The basket is challenging to draw because it’s very irregular in shape (unlike the decanter!). I’m constantly measuring, sometimes holding up a ruler to compare the length of one object to another. Now that I’m drawing precisely, I can decide exactly where I’d like everything to go, unlike when I was using photos and I had to deal with parallax and the irregularities of a shaking hand. I calculated the position of my vanishing point and marked it on my paper so that I could get the perspective correct. (The vanishing point corresponds to my eye position and is the point to which all parallel lines perpendicular to the picture plane seem to converge.) It is just out of the picture frame above the left side of the basket.

This is about as far as I’ll take the drawing of the basket for now. I’ll finish it later, after completing my black-and-white study. I don’t want to spend time drawing details that I might have to erase if I decide I need to move the basket to a new position! I added the stone and crystals.
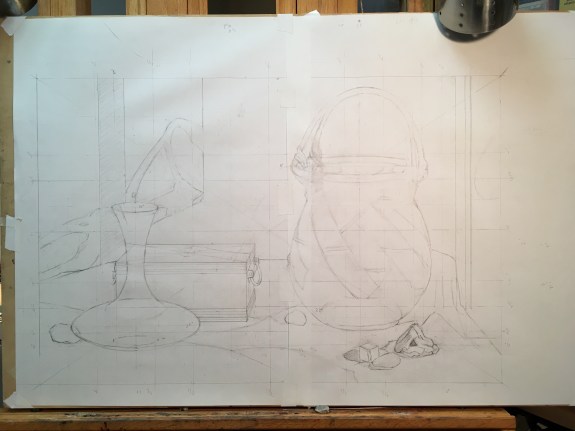
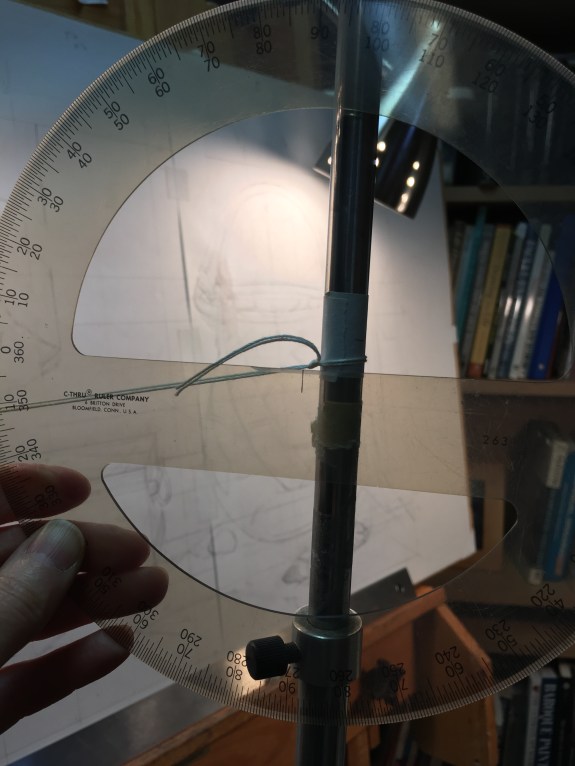
This is just about finished except for the basket details and the exact ellipses on the round objects. As with the basket details, I didn’t calculate and draw the ellipses correctly yet. That’s time-consuming and can wait until after my black-and-white study. I did however, measure the angles of the ellipses. If I know how far below my eye level a round object is, I can calculate the exact ellipse to draw. Using a stand with a string attached at my eye level, I placed the stand in my painting position, and brought the string over to the object whose angle I wanted to measure.
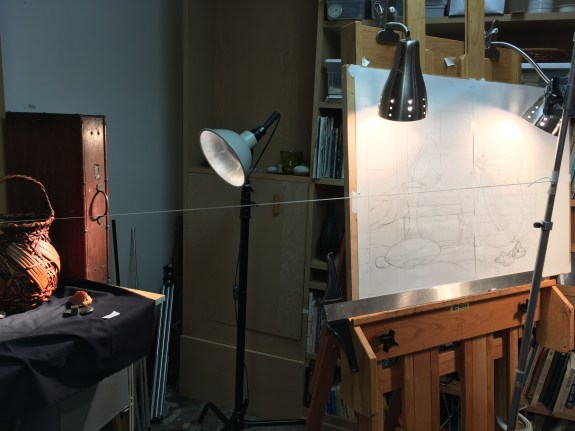
After taping the string to the object, I held up a scale and read off how many degrees below my eye level it was.
SELRES_bacbbf22-be81-4622-afa7-2e302ae7bc3fNext week I’ll write a post showing exactly how I calculate and draw ellipses.
My next step will be to tape some tracing paper over the drawing and paint my black-and-white study.

One comment
Do you want to comment?
Comments RSS and TrackBack URI
Trackbacks