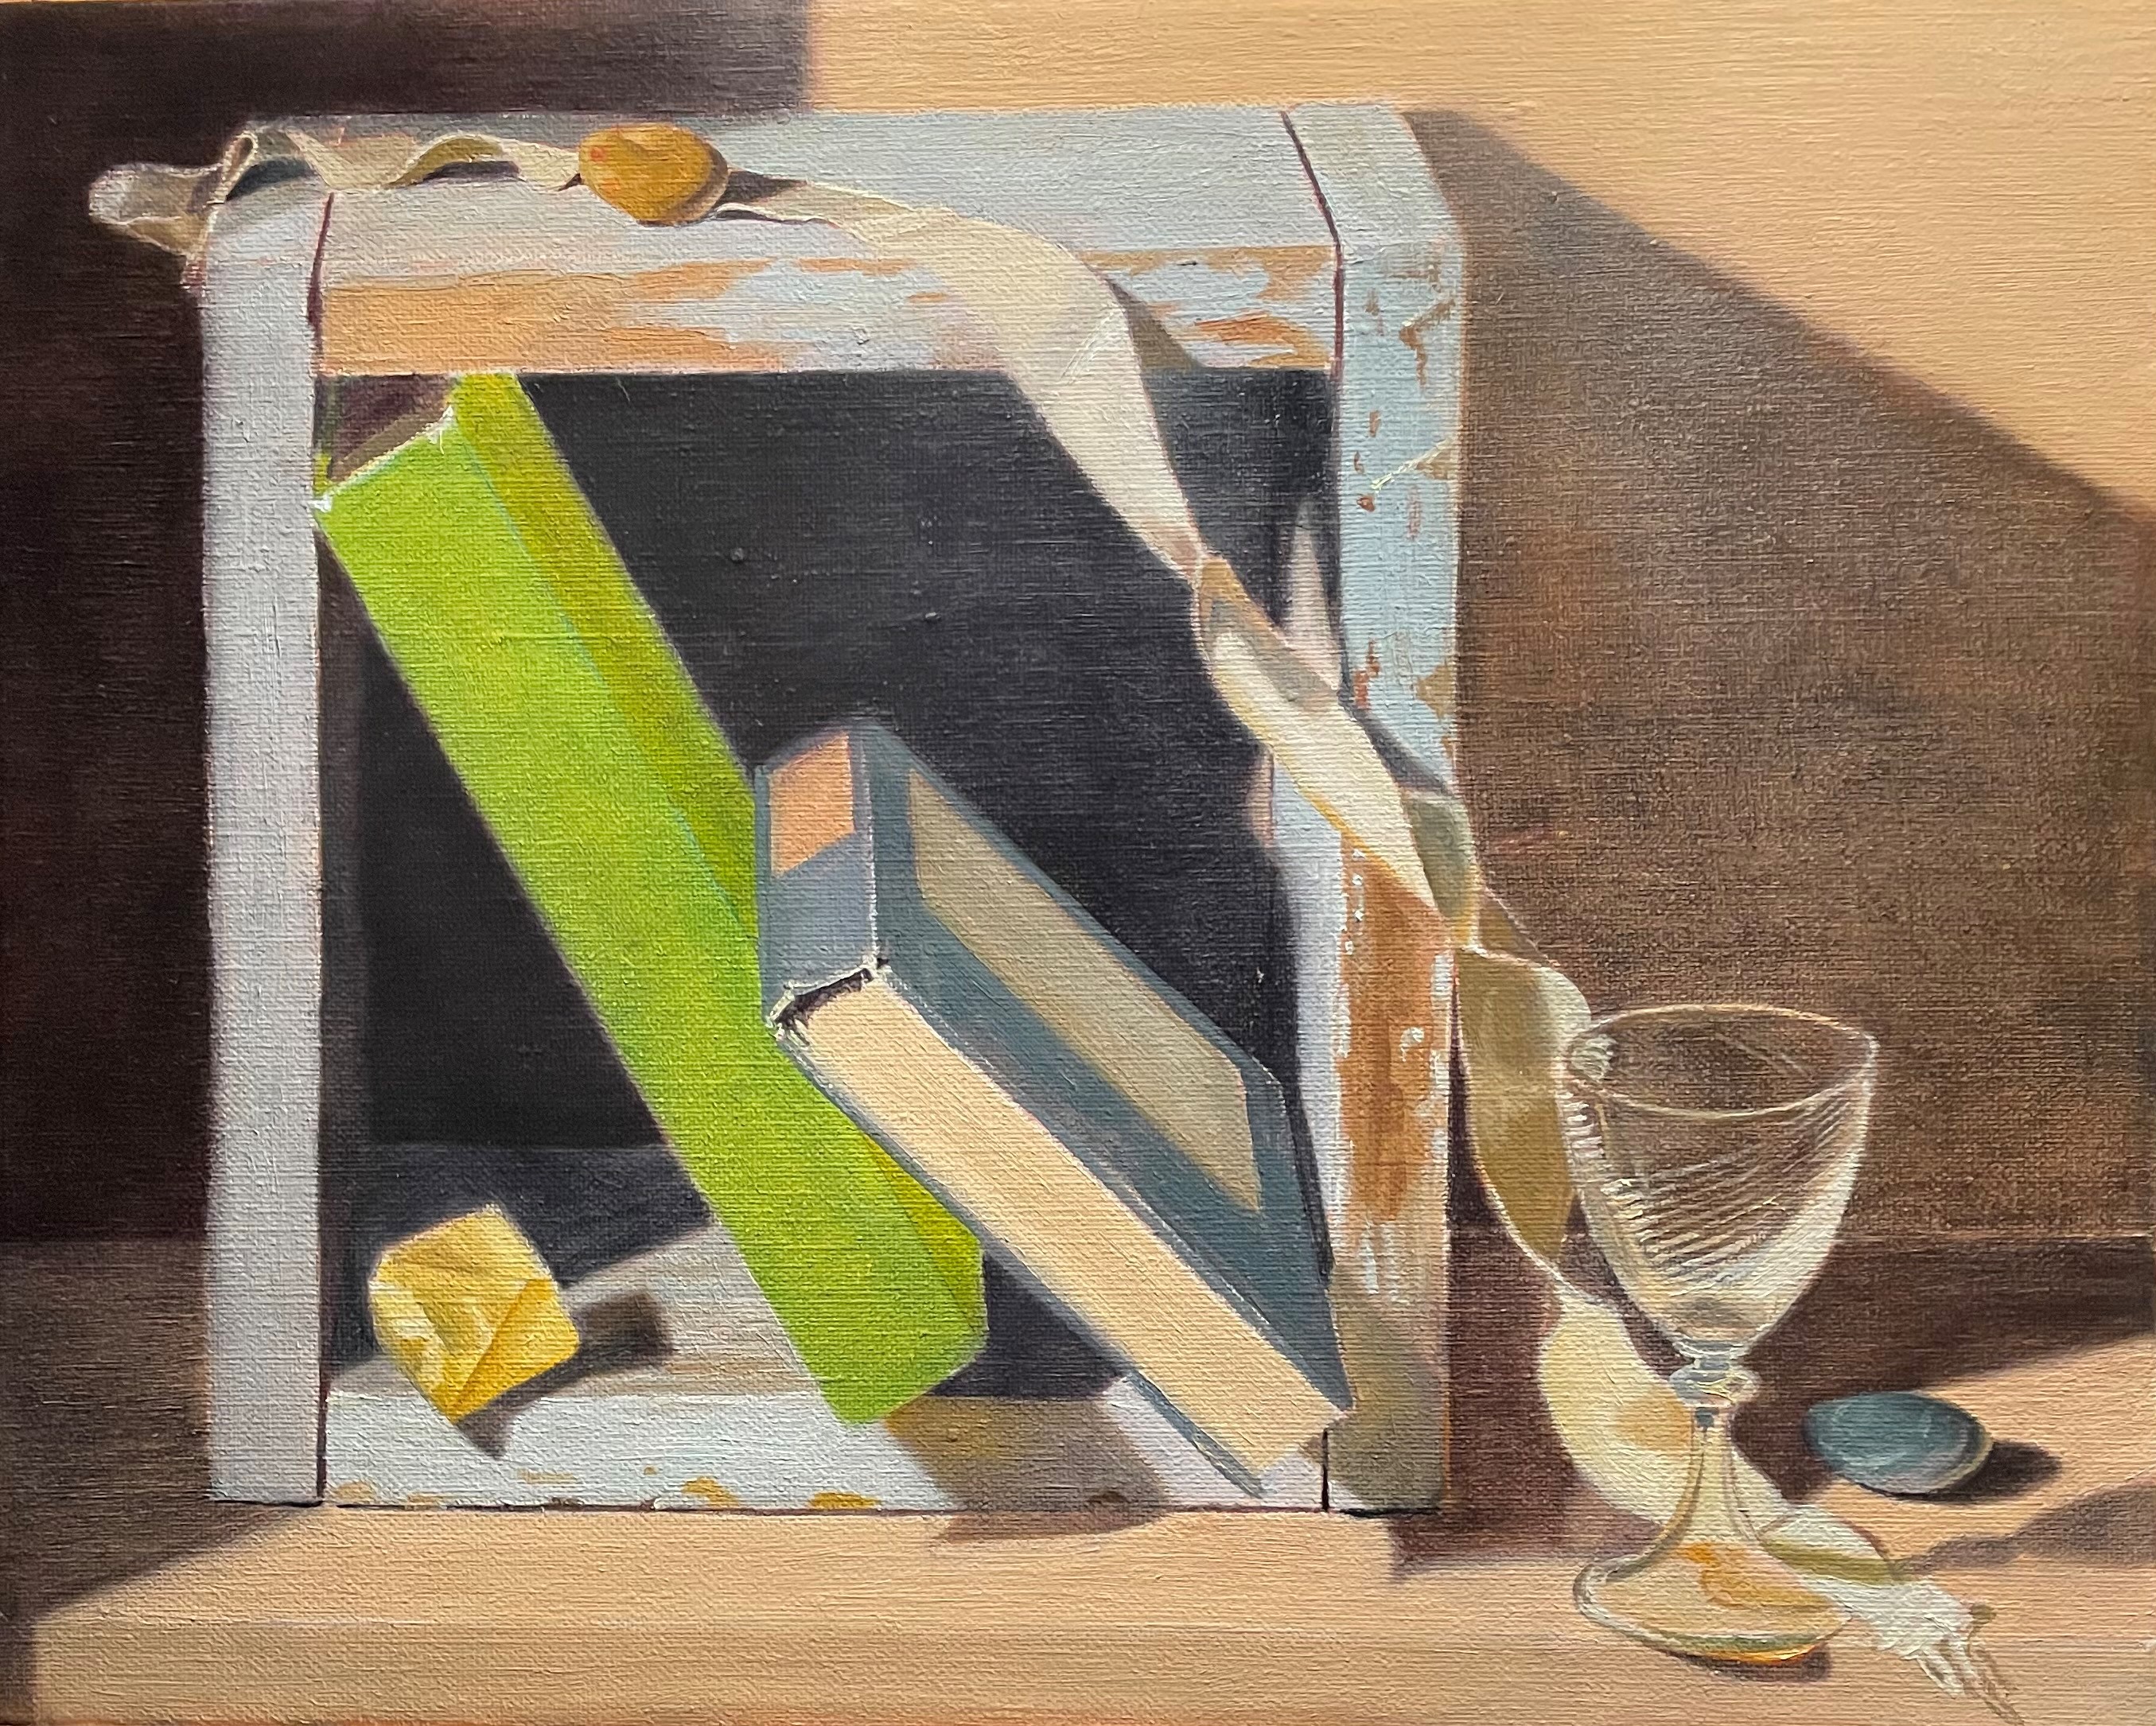
Above is how the painting stood when I started this session. The previous glazes had sunken in. This is that annoying thing that happens when the oil from the glaze sinks into the layer underneath, making the surface appear dull. To judge the values and colors correctly for further painting, you have to paint a layer of medium over these areas to bring back the shine. I used my glazing medium, and then wiped off the excess with a lintless cotton pad.
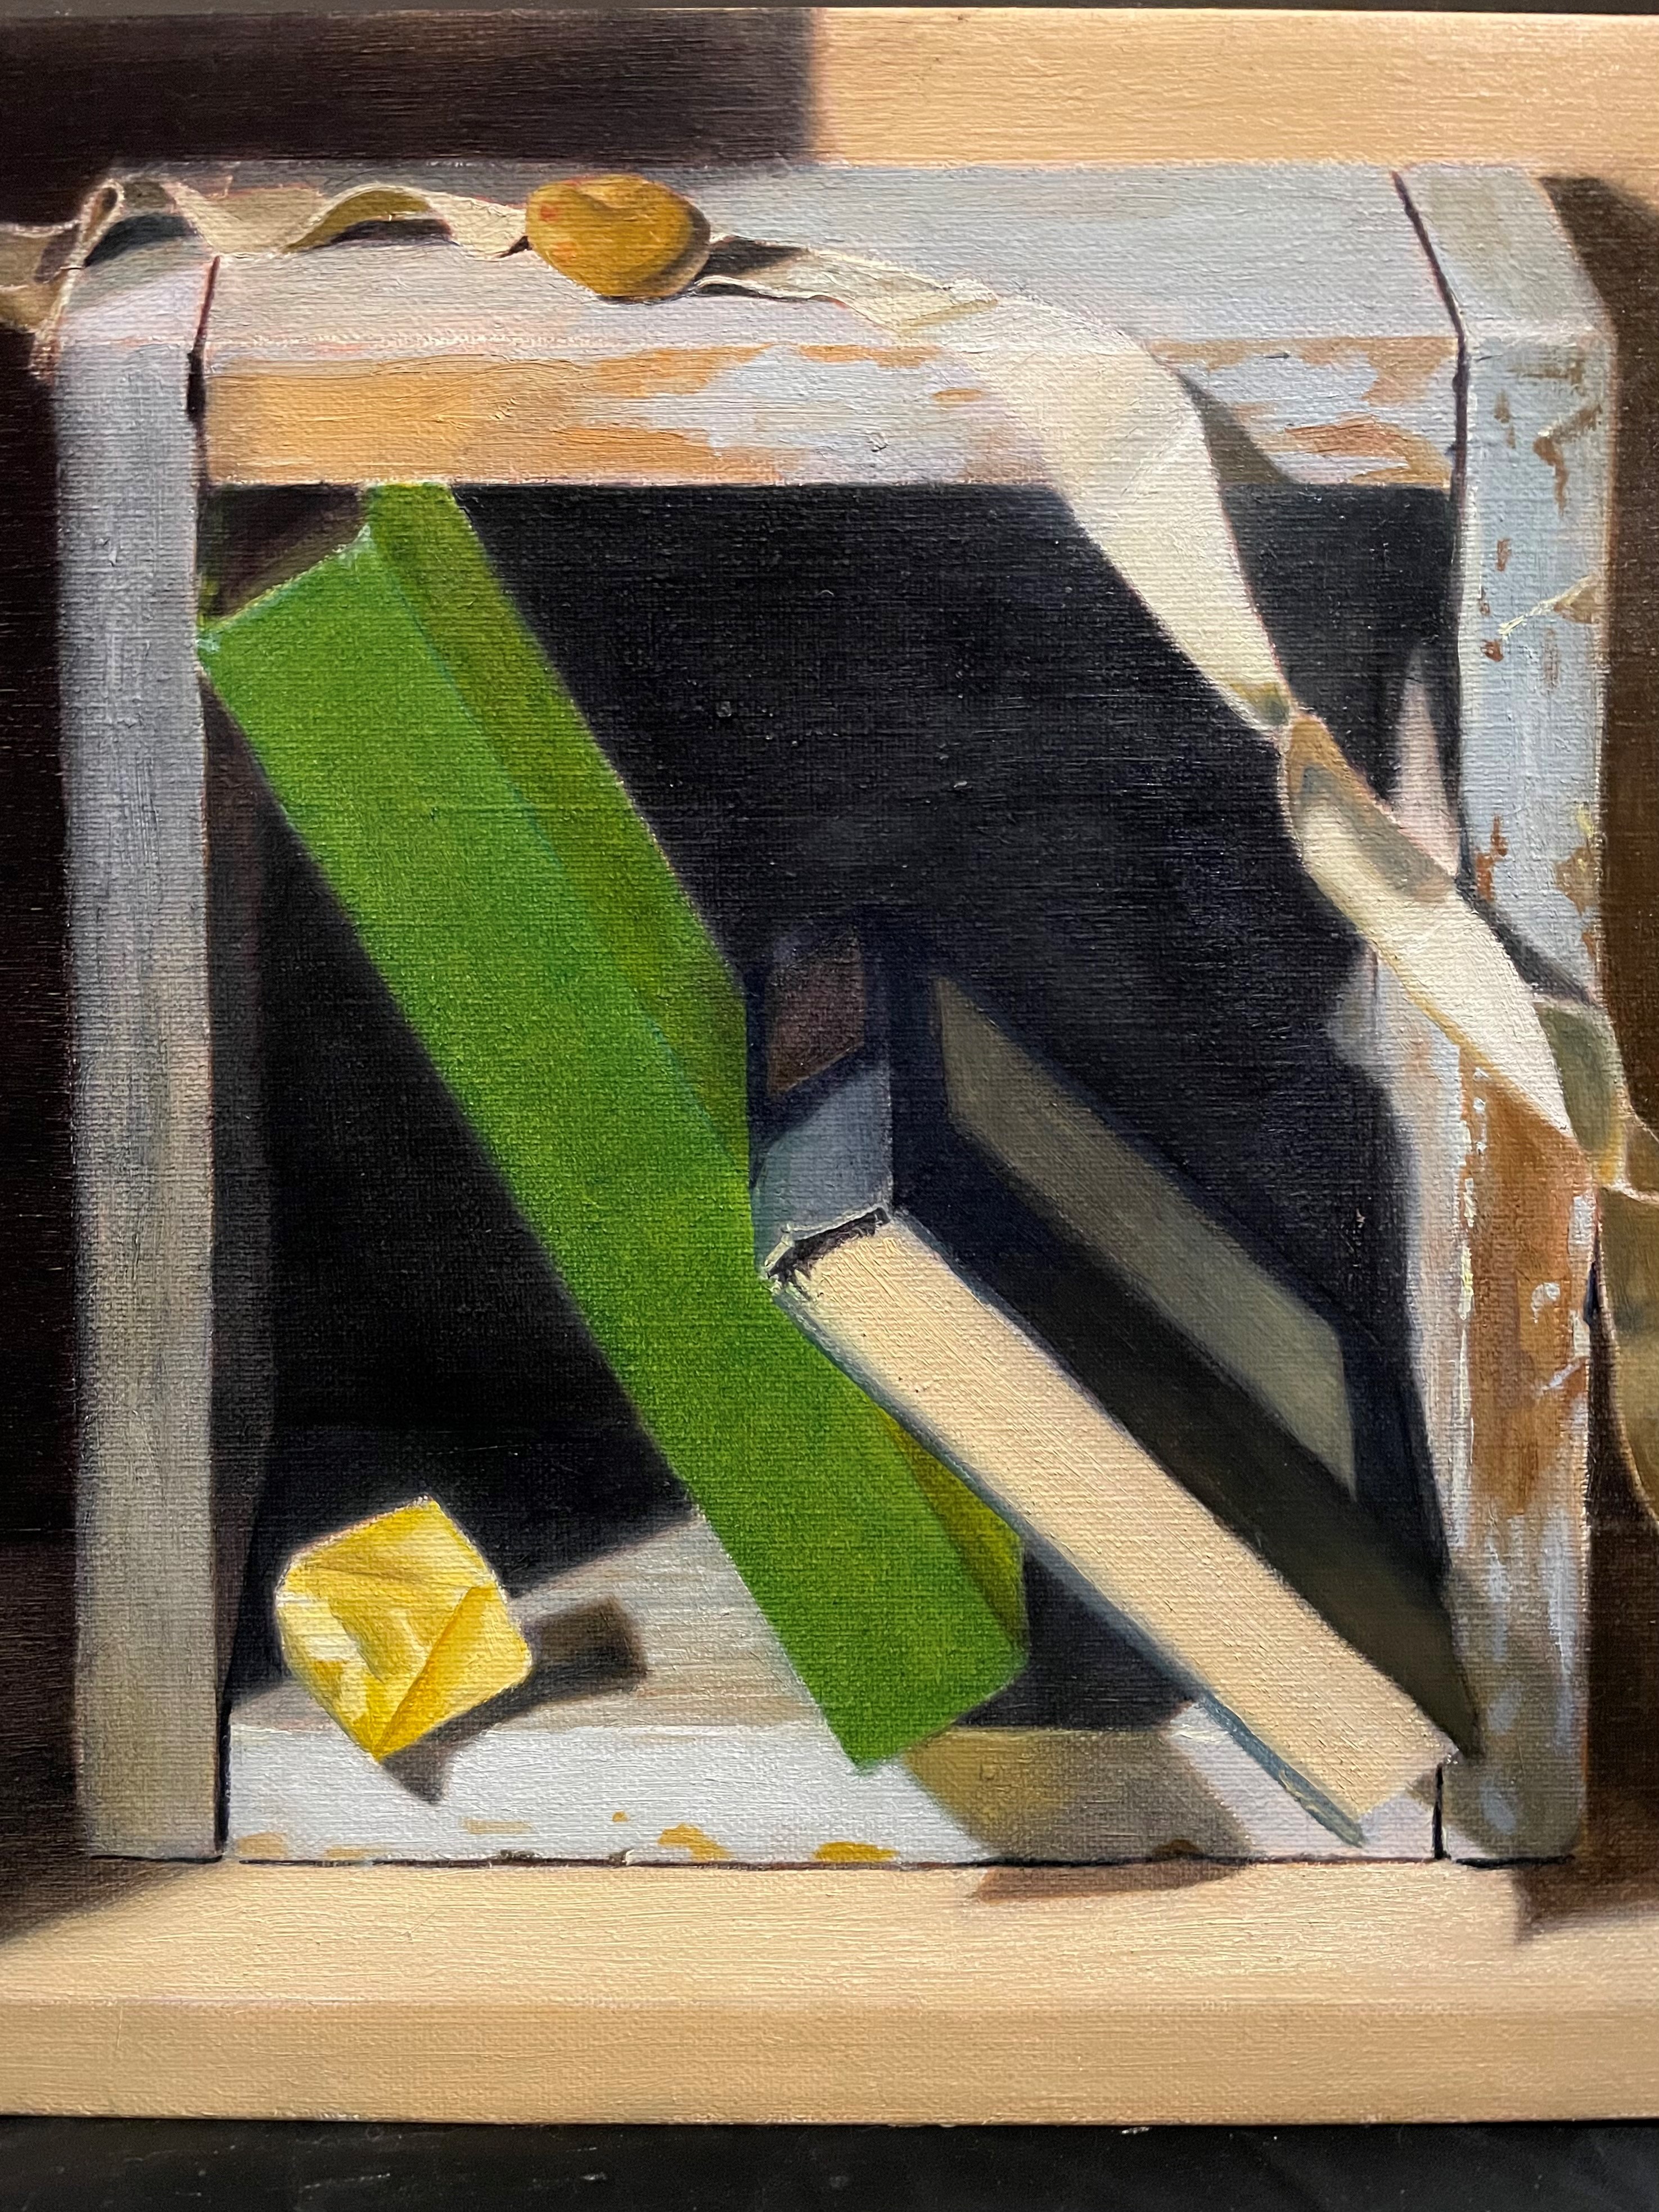
I darkened the interior of the box with a glaze of ultramarine blue and raw umber with a touch of alizarin crimson. I also darkened the wall on the right and the left of the box. I added another green glaze to the green book. I want to get the color just right, so I’m darkening this gradually. I glazed the blue book to get it closer to it’s correct color and value. I glazed the left vertical edge of the box to darken it a bit.
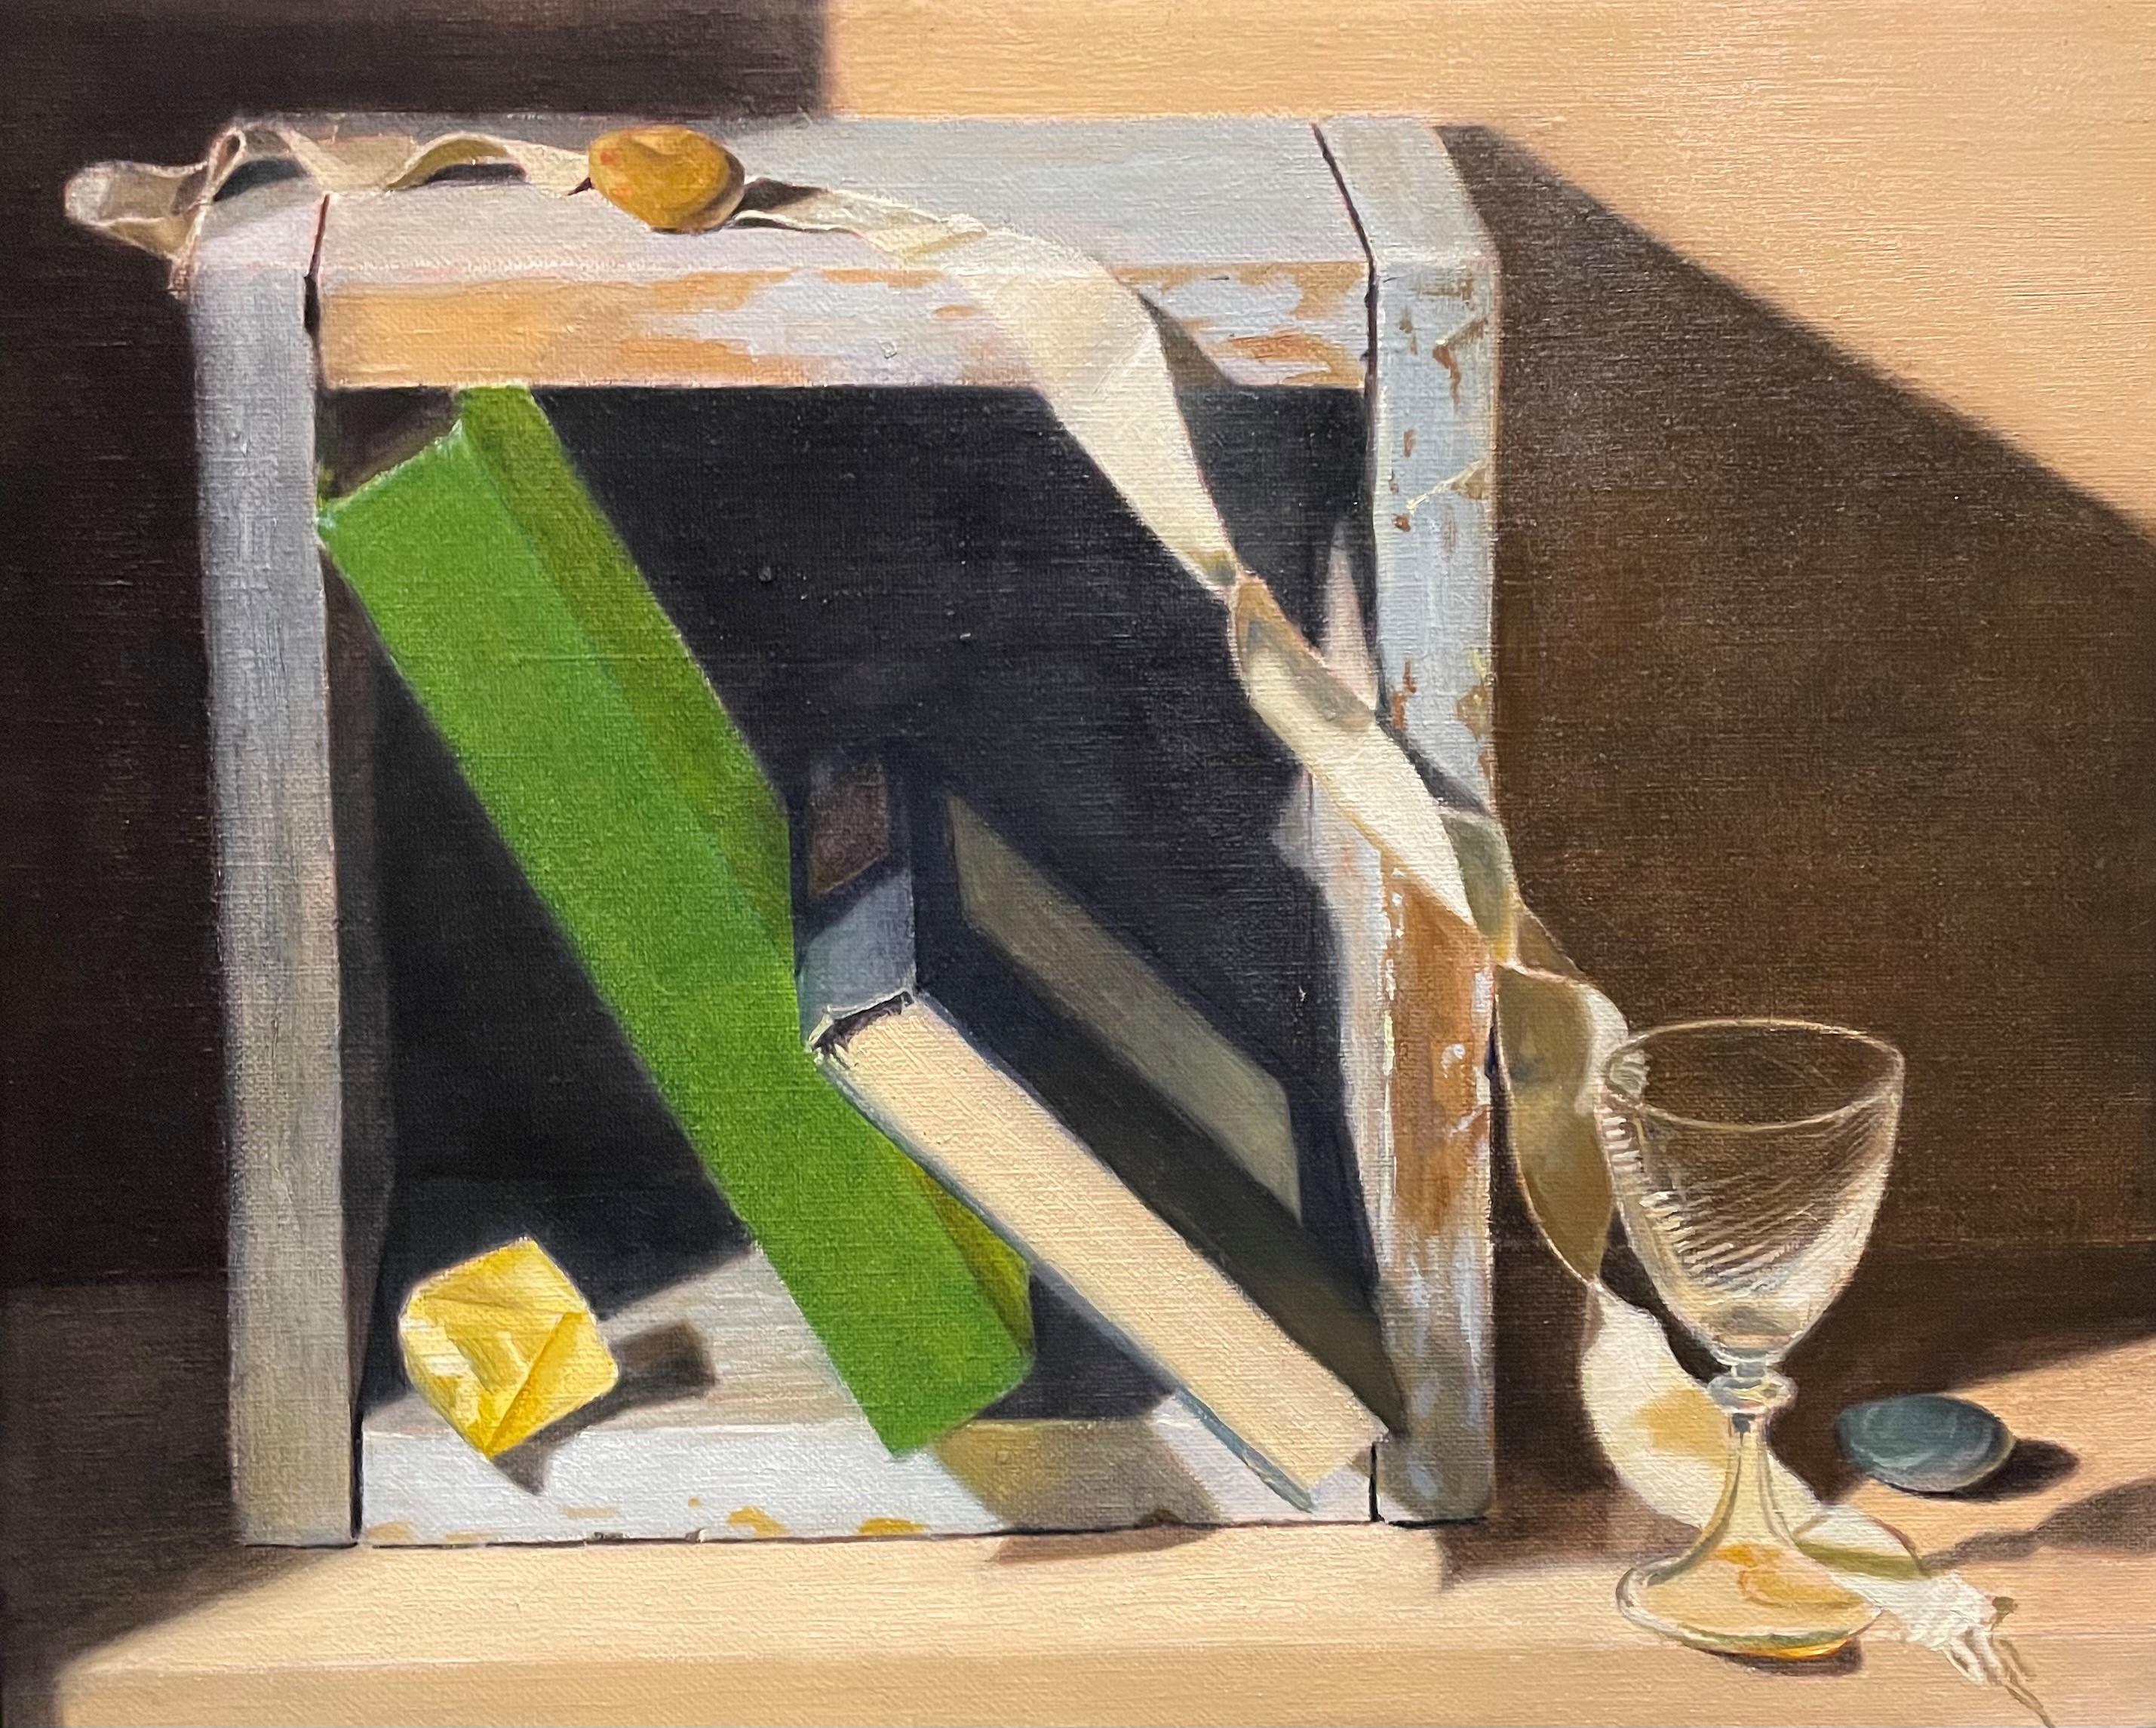
The wall on the right seemed much warmer, and not as dark, so I used a different glaze of transparent golden ochre, raw sienna, alizarin crimson, and a touch of ultramarine blue. I then darkened the rest of the smaller shadows. When the colors didn’t seem quite right, or the shadow had a lot of reflected warm light, I painted a lighter, warm tone right into the wet glaze. This technique is called ‘painting into a wet glaze,’ which is very descriptive! The paint melts into the wet glaze, giving a very convincing effect of light in the shadows. You can see this in the shadow the green book casts onto the bottom edge of the box. I’ve begun to indicate a few details on the box. I don’t want to do too much yet, until I’m sure that the basic values and colors are right. As usual, I like to keep all of the painting at about the same stage, so it all progresses together.
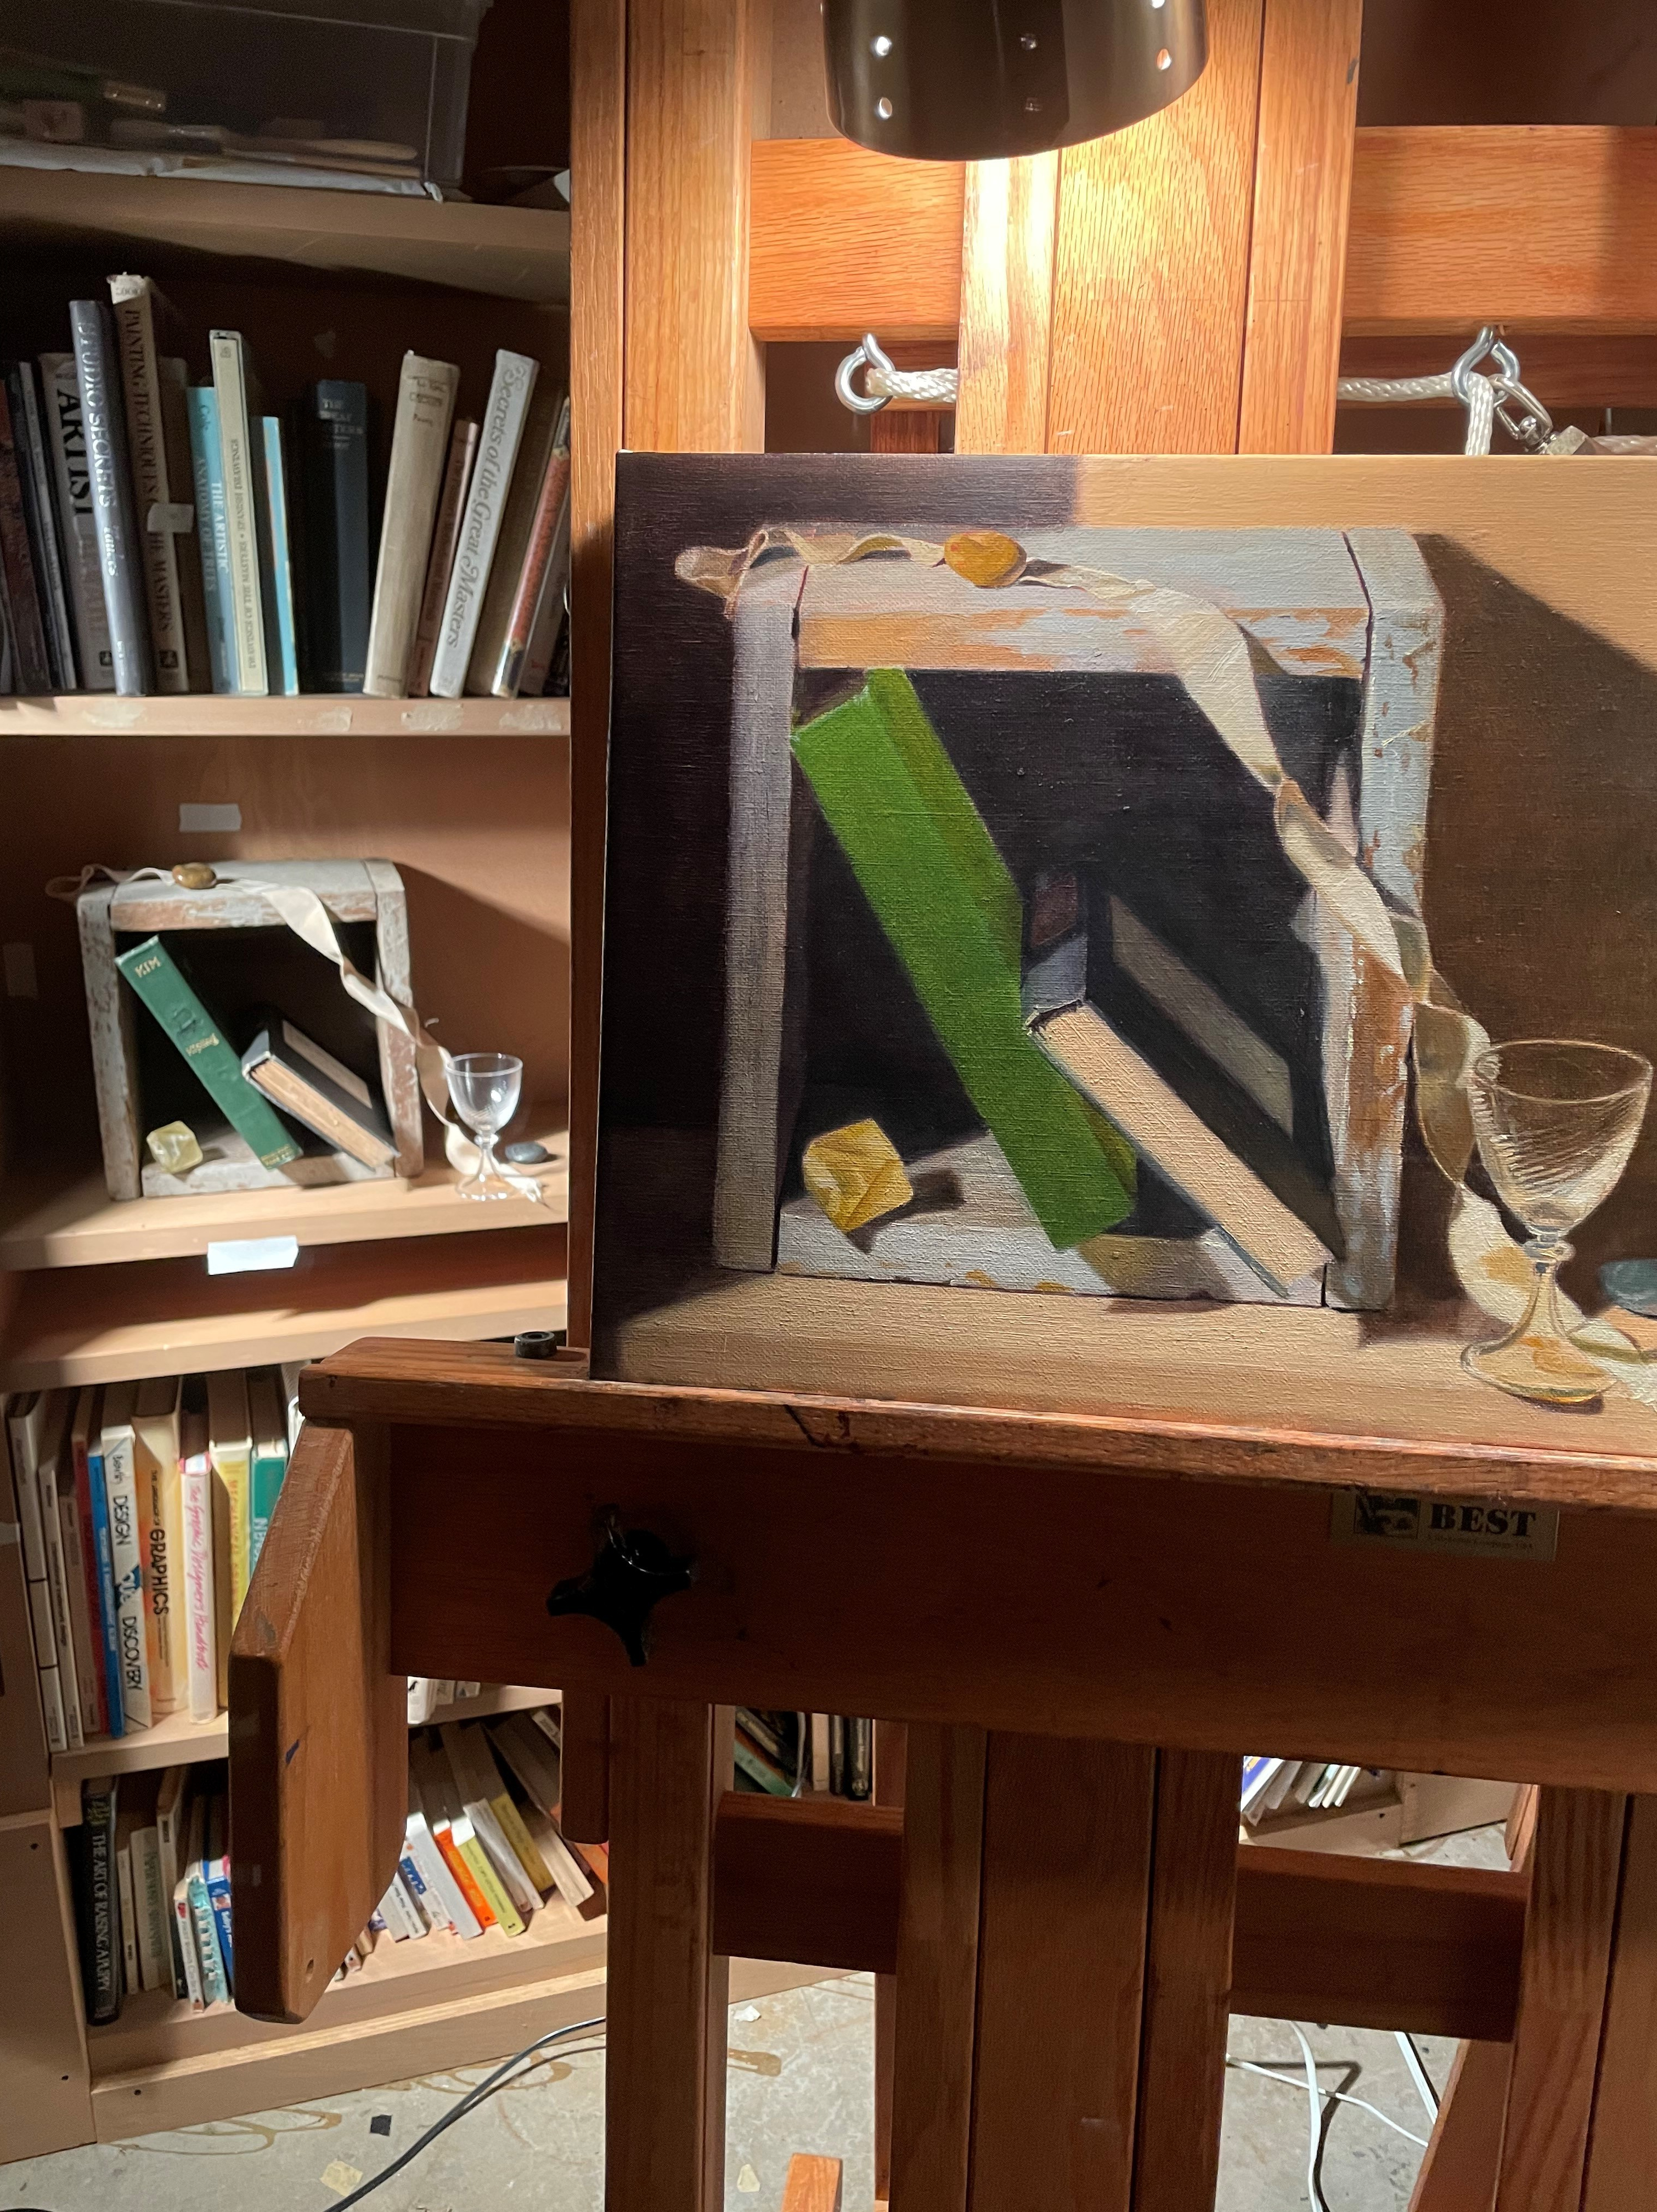
Here’s life and art together!
